
A year ago, the price of large molds were around $2each. This year, the best I could find was a 12pk for $11.99.
Nevertheless, until I get to a point where I’m baking panettone en-masse, I’ll continue making my own.
Here’s how I do it.
A year ago, the price of large molds were around $2each. This year, the best I could find was a 12pk for $11.99.
Nevertheless, until I get to a point where I’m baking panettone en-masse, I’ll continue making my own.
Here’s how I do it.
I was reviewing some of the formula that I’d collected in the past 18 months and it dawned on me that a couple of different formulae I had (all attributed to Massari) were different!
I realise that depending on environmental factors, we sometimes have to alter our recipes… but I figured, for the sake of it, I’d do a comparison.
Before that, however, I want to share a few snaps (they’re not beautifully-staged photographs) at my first Massari-style panettone.
I used wild yeast water in my starter, and as a replacement for the water in the second dough.
Also, I used 50% organic whole wheat (ground with my Mockmill100).
Continue reading “Panettone a la Massari – an exploration of everything I could find.”
It’s that time of year again, when the quest for a panettone is thrust forward – about to the same extent that is hoped for in the dome of the bread itself.
My first attempt this year was just that: an attempt.
It failed. So I used my dough slop which, after an hour, was void of any gluten strands, and turned it into griddle-cakes.
They tasted similar to biscotti, by the way. Just softer. Good save.
Thankfully, I had my notes from last year – both in the form of the following blog post and in scribbled timing notes…
The subsequent two attempts were most definitely successes – one with cranberries and raisins, one with chocolate.
Panettone with Natural Yeast / Lievito Naturale / Pasta Madre – using KitchenAid
STARTER
I decided to use my sourdough starter. My personal demands have been rather intense and the thought of maintaining a second starter didn’t fill me with much joy. I calculated the amount of pre-fermented flour in the 50%hy pasta madre, and ensured that I used the same amount of flour in the 100%hy starter, reducing the added amount of water accordingly (using the recipe in the above link, that translated to 140g @ 100%hy – reducing the 55g of added water by 35g to only 20g.
But my starter uses 100% freshly-ground whole wheat (thank you Mockmill), and that serves to boost the sour aspects of the starter, despite regular feedings. Though delicious, the panettone was definitely sour. Nicely so. But still.
After trawling through many web pages (mostly in Italian), the need to use a 50%hy starter became apparent.
Being able to slice it and bathe it in sugar water and being able to wrap it tightly – both to help controlling the acidity, are things that are impossible to do with a 100%hy starter.
METHOD
The recipe from which I learned to make panettone was credited to Morandin.
But during my reading, two other names [re]surfaced: Iginio Massari and Alfonso Pepe.
Massari is commonly considered the top panettone master. (Chef Roy Shvartzapel, who is largely responsible for a surge in artisan panettone popularity in the US, mentored with Massari).
Anyone who has struggled with failures and successes from the exact same recipe will soon conclude that the only culprit can be technique.
Therefore, from any recipe, one must pay special attention to the method.
Morandin (at least in the recipe that my previous panettone post had used):
In dough 1, the butter and some of the water is all that is held back – everything else is mixed.
The dough goes through various phases, resulting in a something that’s smooth, stringy, and stretchy.
Dough 2 begins by combining the flour to dough 1. When the gluten has been developed, the remaining ingredients (except for the suspensions) are added.
When those are fully incorporated and the dough has pulled away from the sides and formed a smooth ball, the suspensions are added.
Pepe:
Not unlike the Morandin technique, dough 1 starts by dissolving the sugar in water. To this, the pasta madre and flour are added and mixed until smooth and stringy (about 15 minutes). The egg yolks are added, and then the softened butter.
Dough 2 begins by chilling the first dough in order to reduce the temperature to 20C. Flour is then added and the two are mixed until the gluten has been fully developed (approximately 20 minutes). Yolks and sugar are added in small alternating portions (waiting each time to ensure that the dough has “regrouped”) followed by honey, salt, aromatic paste, and finally the butter. At the end, on low speed, the suspensions are added.
Massari:
Dough 1 is prepared almost reverse to the two techniques above: the flour, sugar, butter, water, and some of the yolks are mixed initially. The pasta madre and remaining yolks are added afterwards.
Dough 2 combines flour to dough 1 which is mixed to full gluten development. Afterwards the sugar, honey, and some of the yolks are added, followed by salt and more yolks, finally followed by butter (soft but not melted), water, and the remaining yolks. Suspensions are always added last.
References:
https://buonapizza.forumfree.it/?t=76142996&fbclid=IwAR3kEl4n8-qbVfvtScaV5TM_q_gCgqKhfdKYluUYczwt2jFIPq80ErjX7ag
https://vdfpani.blogspot.com/2017/12/il-panettone-da-iginio-massari.html
http://www.pianetapane.it/OldPP/index.php?option=com_content&view=article&id=2068:iginio-massari-spiega-i-segreti-del-lievito-madre&catid=7&Itemid=109
https://www.dissapore.com/ricette/panettone-iginio-massari-guida-completa/
Il panettone ricetta di Massari, realizzato con impastatrice e forno casalingo
This is going to be pretty abrupt, but I’m just throwing it out into e-ville in case anyone else can use the information.
Q. How do you replace the speed control board on an old stand mixer when you can’t get a direct replacement?
A. Buy the modern equivalent, but only connect to three of the posts. Continue reading “Hobart Kitchenaid – K5-A Stand Mixer”
I cannot begin to count the number of posts that I’ve read on the topic of dip pen nibs.
My personal interest (as with so many people) falls into the Spencerian/copperplate/ornamental basket.
I simply adore the variation of line thickness and how it combines with and compliments such a flowing script.
Of course, not every pen can facilitate the reproduction of such writing. Those that can often fetch quite the premium online (look up sale prices on Waterman Ideal and Mabie Todd Swan pens, for starters).
So what’s a person to do if they have a modest budget? What are alternatives to spending over $50?
Here’s a list that I compiled from a few different resources to get you started.
I hope to add more as I find out about them.
https://docs.google.com/spreadsheets/d/1wWj_APDjz7q1N76WZSv4KsDIdapD38mL1Exy704ayyY/edit?usp=sharing
Before I get started, if you want to read the details of my failed experiments, please visit http://hilda.hhandg.com/?p=1425.
THE CORE RECIPE AND PROCEDURE ARE TRANSLATED FROM AN ITALIAN BLOG:
“Fables de Sucre“
I have added my own notes and directions for times and speeds using my KitchenAid Professional 600 stand mixer.
This recipe makes a 1kg (2.2lb) Panettone, but the total can be divided into smaller amounts for use in cupcake/muffin tins etc.
Continue reading “Panettone with Natural Yeast / Lievito Naturale / Pasta Madre – using KitchenAid”
A few years ago, I started my journey into sourdough and “natural leavening”. Part was due to my love for all things timeless and traditional, and part was due to the natural course that my fermentation curiosity was taking.
I made “Pandoro” a couple of years ago (finally got to use the tin mould that I’d bought several years before then!) using a recipe which I converted from using a traditional “biga” starter (where you start a small amount of commercial yeast in a wet dough, leave it to ferment overnight, and then use the resulting living dough to start your bread), to using a sourdough.
The Pandoro was tasty – but a bit sour. And the longer it sat (the children were too young to help us eat an entire Pandoro in one go!), the more pronounced the sour tones became.
Continue reading “A beginner’s journey in making Panettone.”
Despite the title, it actually all started with a manual food processor.
This one.
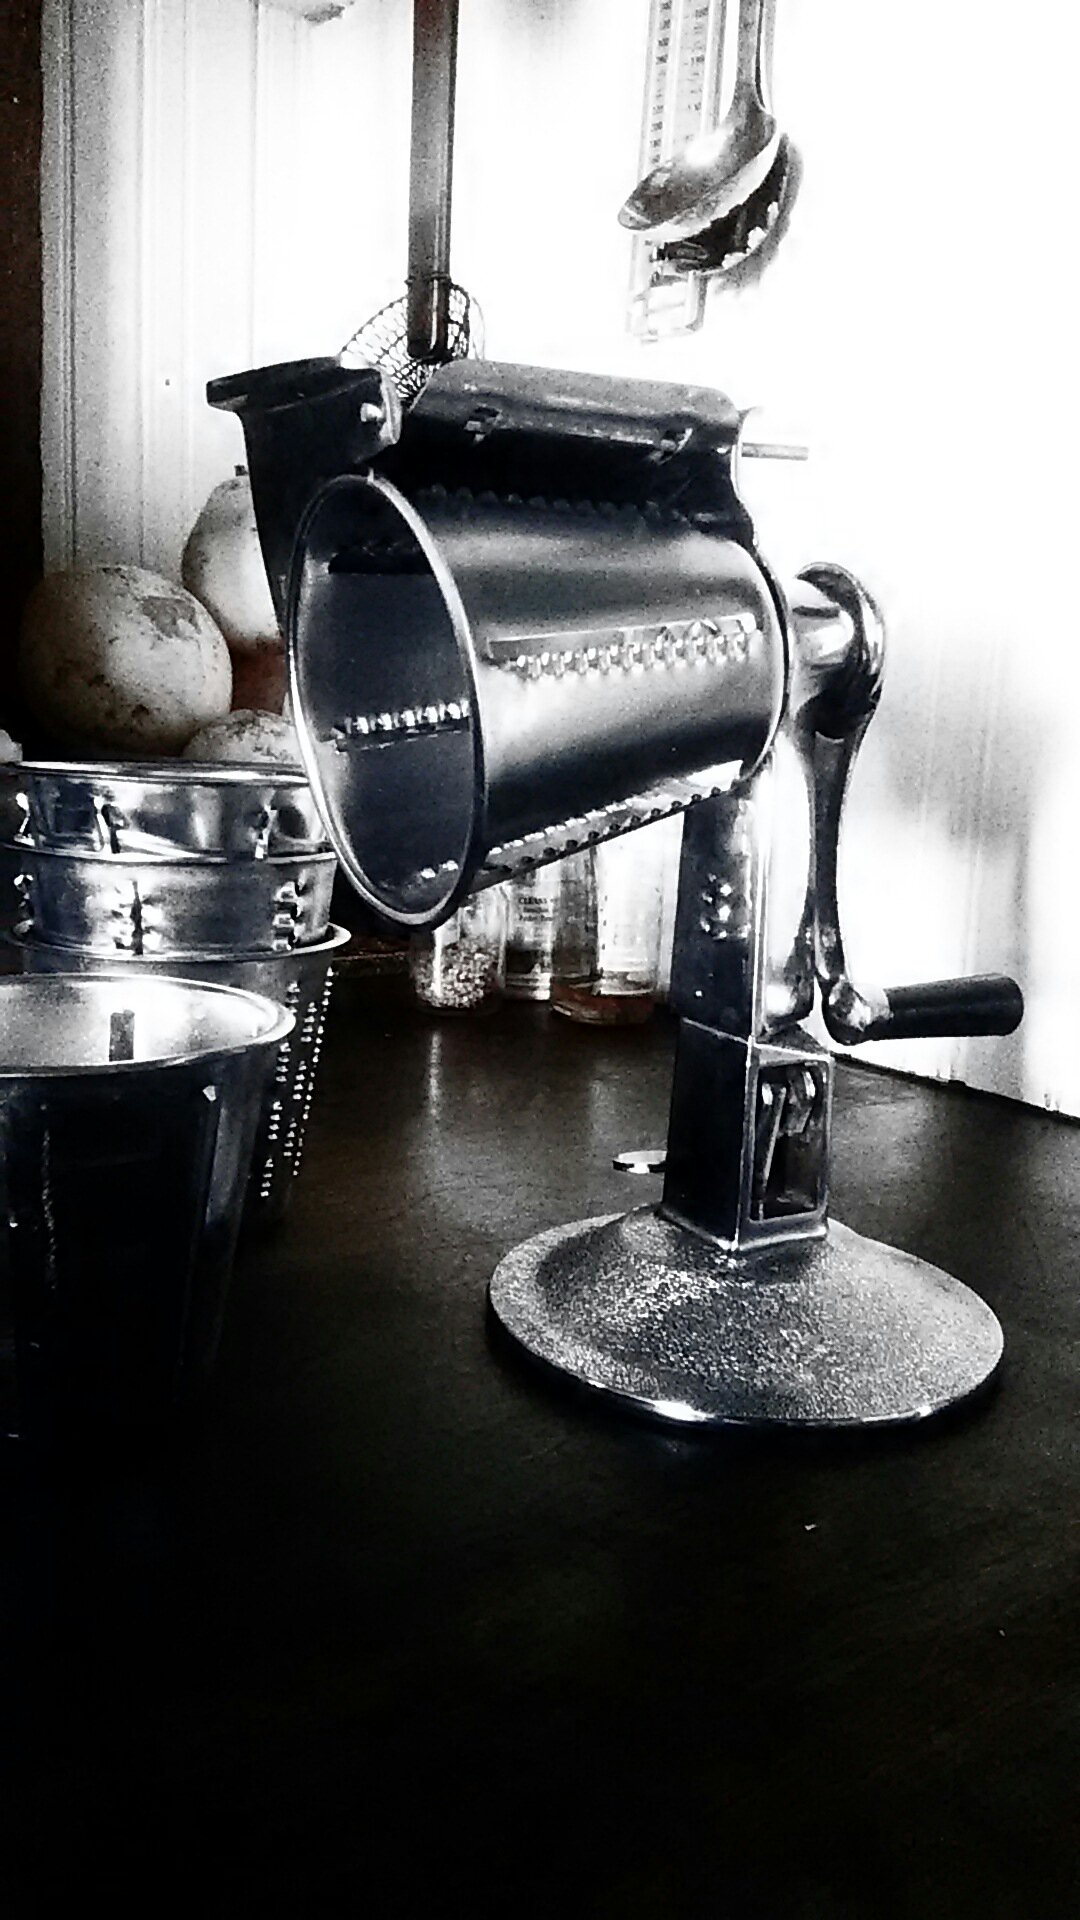
I got mine in expected vintage condition on eBay – $26 including shipping.
It worked well, but when I did a bit of cross-referencing on how to use it, it started working brilliantly.
I learned the techniques from videos on good ol’ YouTube – mainly ones by/in association with SaladMaster (whose name is on the modern-day standard of this machine).
I soon learned that you could get a free [brand new/non-vintage] processor of your own by hosting Saladmaster at your home for a food preparation party which includes a dinner at their expense. Sounds fun, right?
There’s always a hidden motive with these things, though. Or not so hidden.
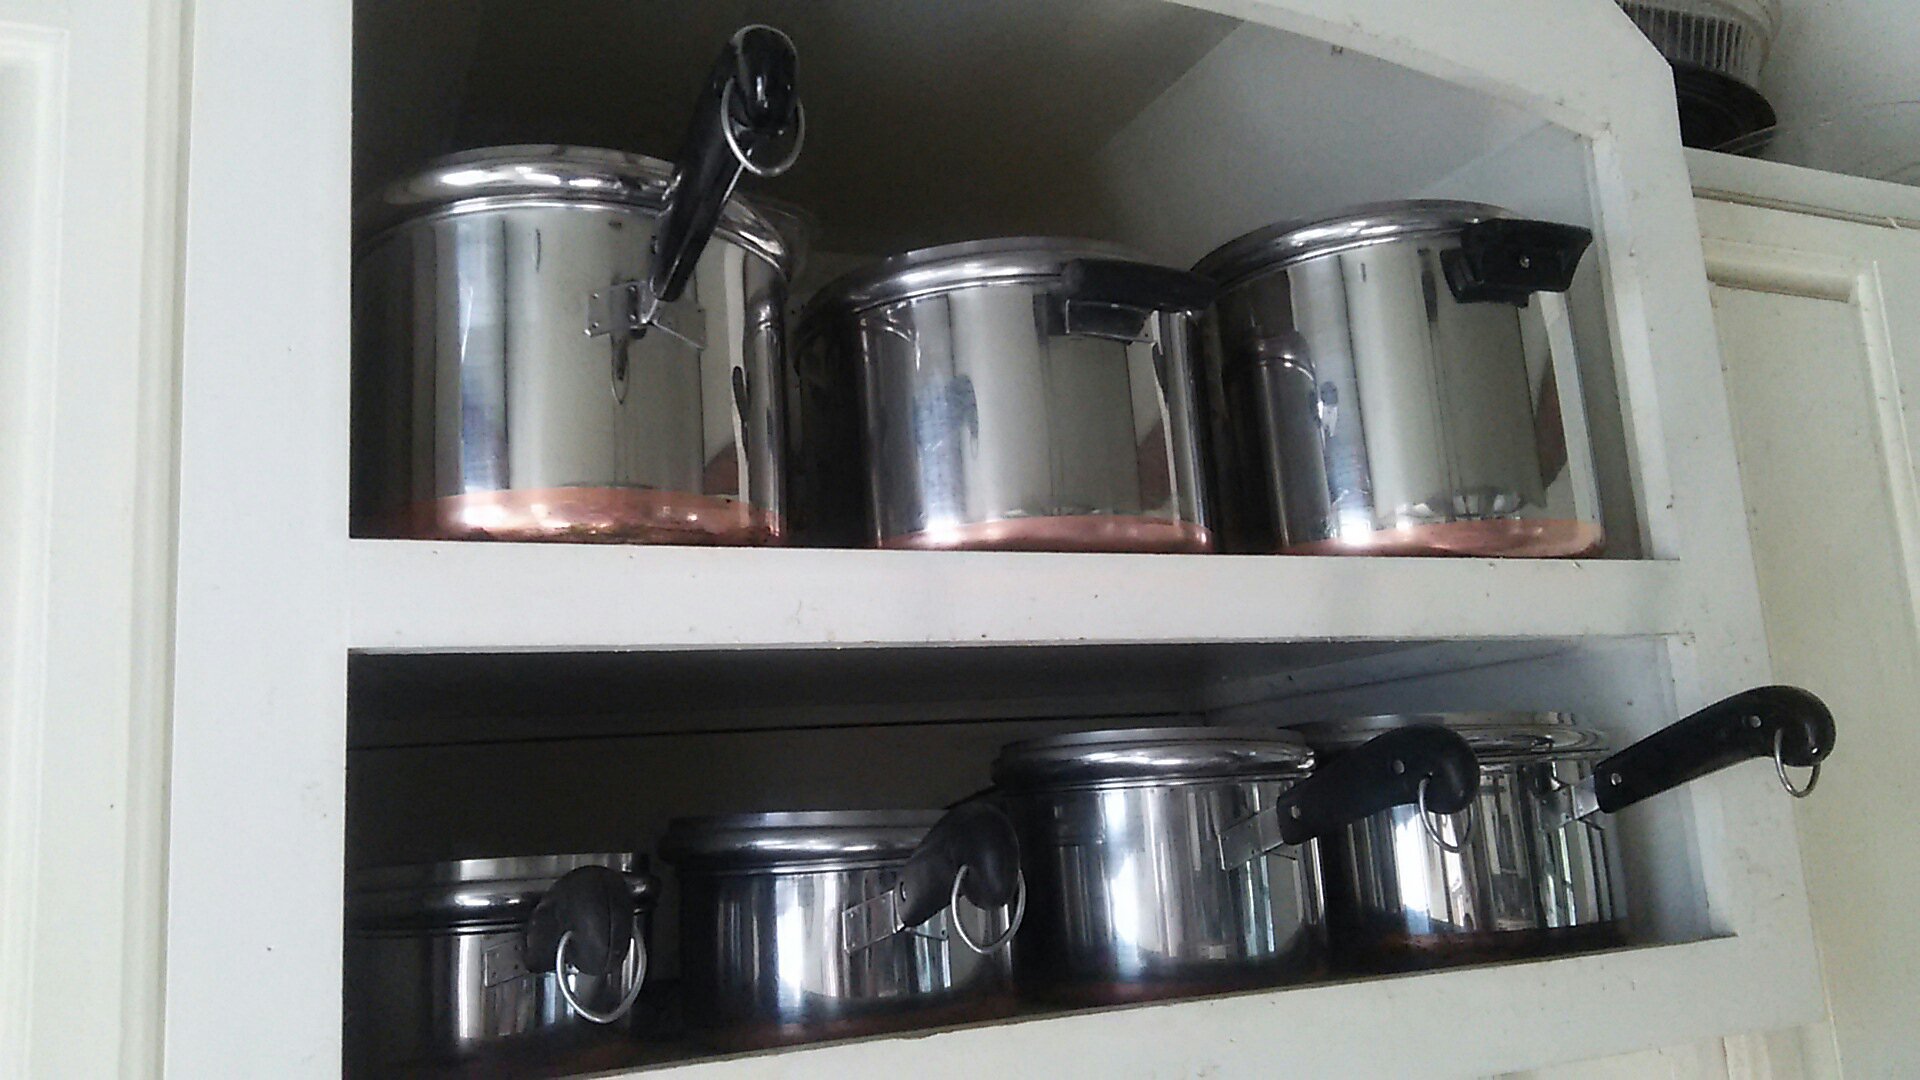
The main function of the dinners are to get you to buy from their selection of very expensive ($thousands if you want full sets) “waterless” cookware.
I wrote a rather detailed account on how we survive the summer heat without air-conditioning here: http://hilda.hhandg.com/?p=1335, but there was some concern that perhaps I’d included too much detail, so here follows a concise list of suggestions without any of the stories or experiences. Continue reading “Six practical ways that you can keep cooler without air conditioning.”

This is the story of our personal experiences in our 1870’s Victorian Italianate house in Northeast Ohio, USA. This recount should be enough of a practical guide to enable any reader to unlock the clever designs of their old house to make it through summer much like Victorians did.
If you would prefer a very concise guide (void of personal experiences) this may better suit you. http://hilda.hhandg.com/?p=1399
Background.

When we bought our house in 2007, it was little more than a vinyl-clad shell – and a fairly worn one at that.
Certainly not boasting the grandeur of its appearance (above) in the 1980s.
It boasted a sizeable air conditioning unit for relief from the summer, and two (yes, two) furnaces for warmth in the winter.
Now. If sweet music had been playing on a record as you read the opening sentences, this would the point that it scratches to a halt.
Continue reading “Surviving the summer heat without air-conditioning.”