
I was reviewing some of the formula that I’d collected in the past 18 months and it dawned on me that a couple of different formulae I had (all attributed to Massari) were different!
I realise that depending on environmental factors, we sometimes have to alter our recipes… but I figured, for the sake of it, I’d do a comparison.
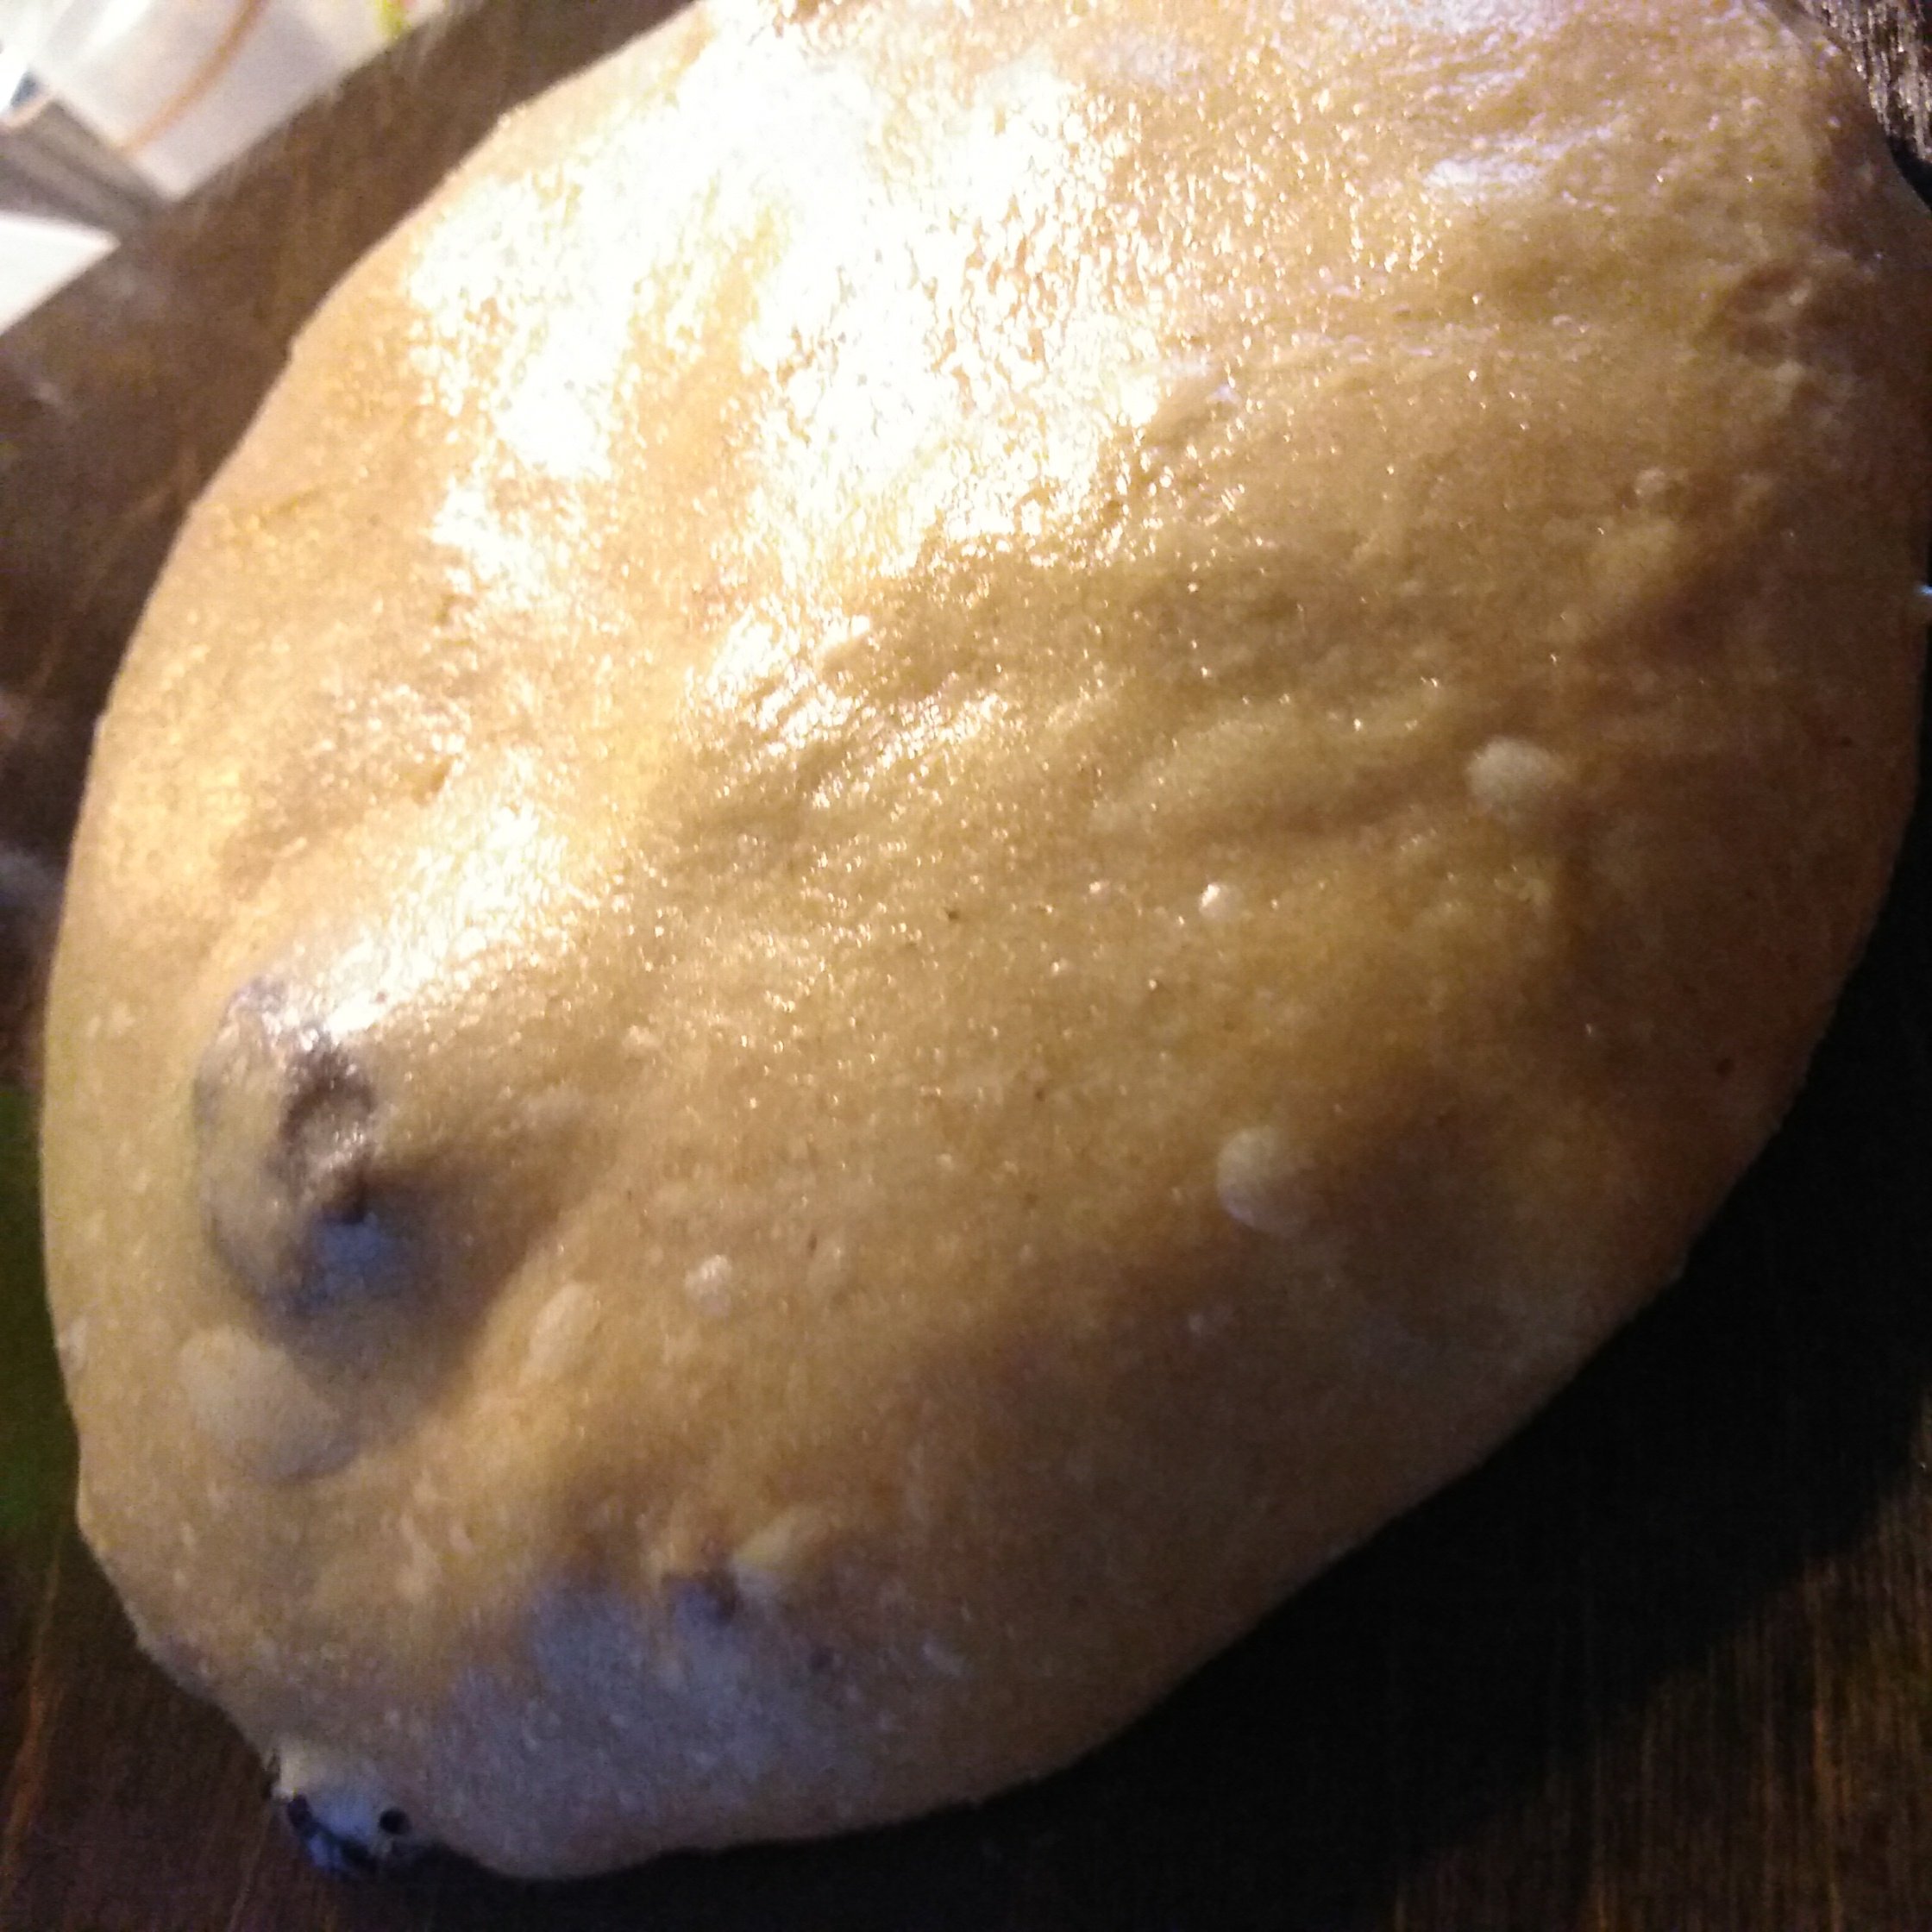
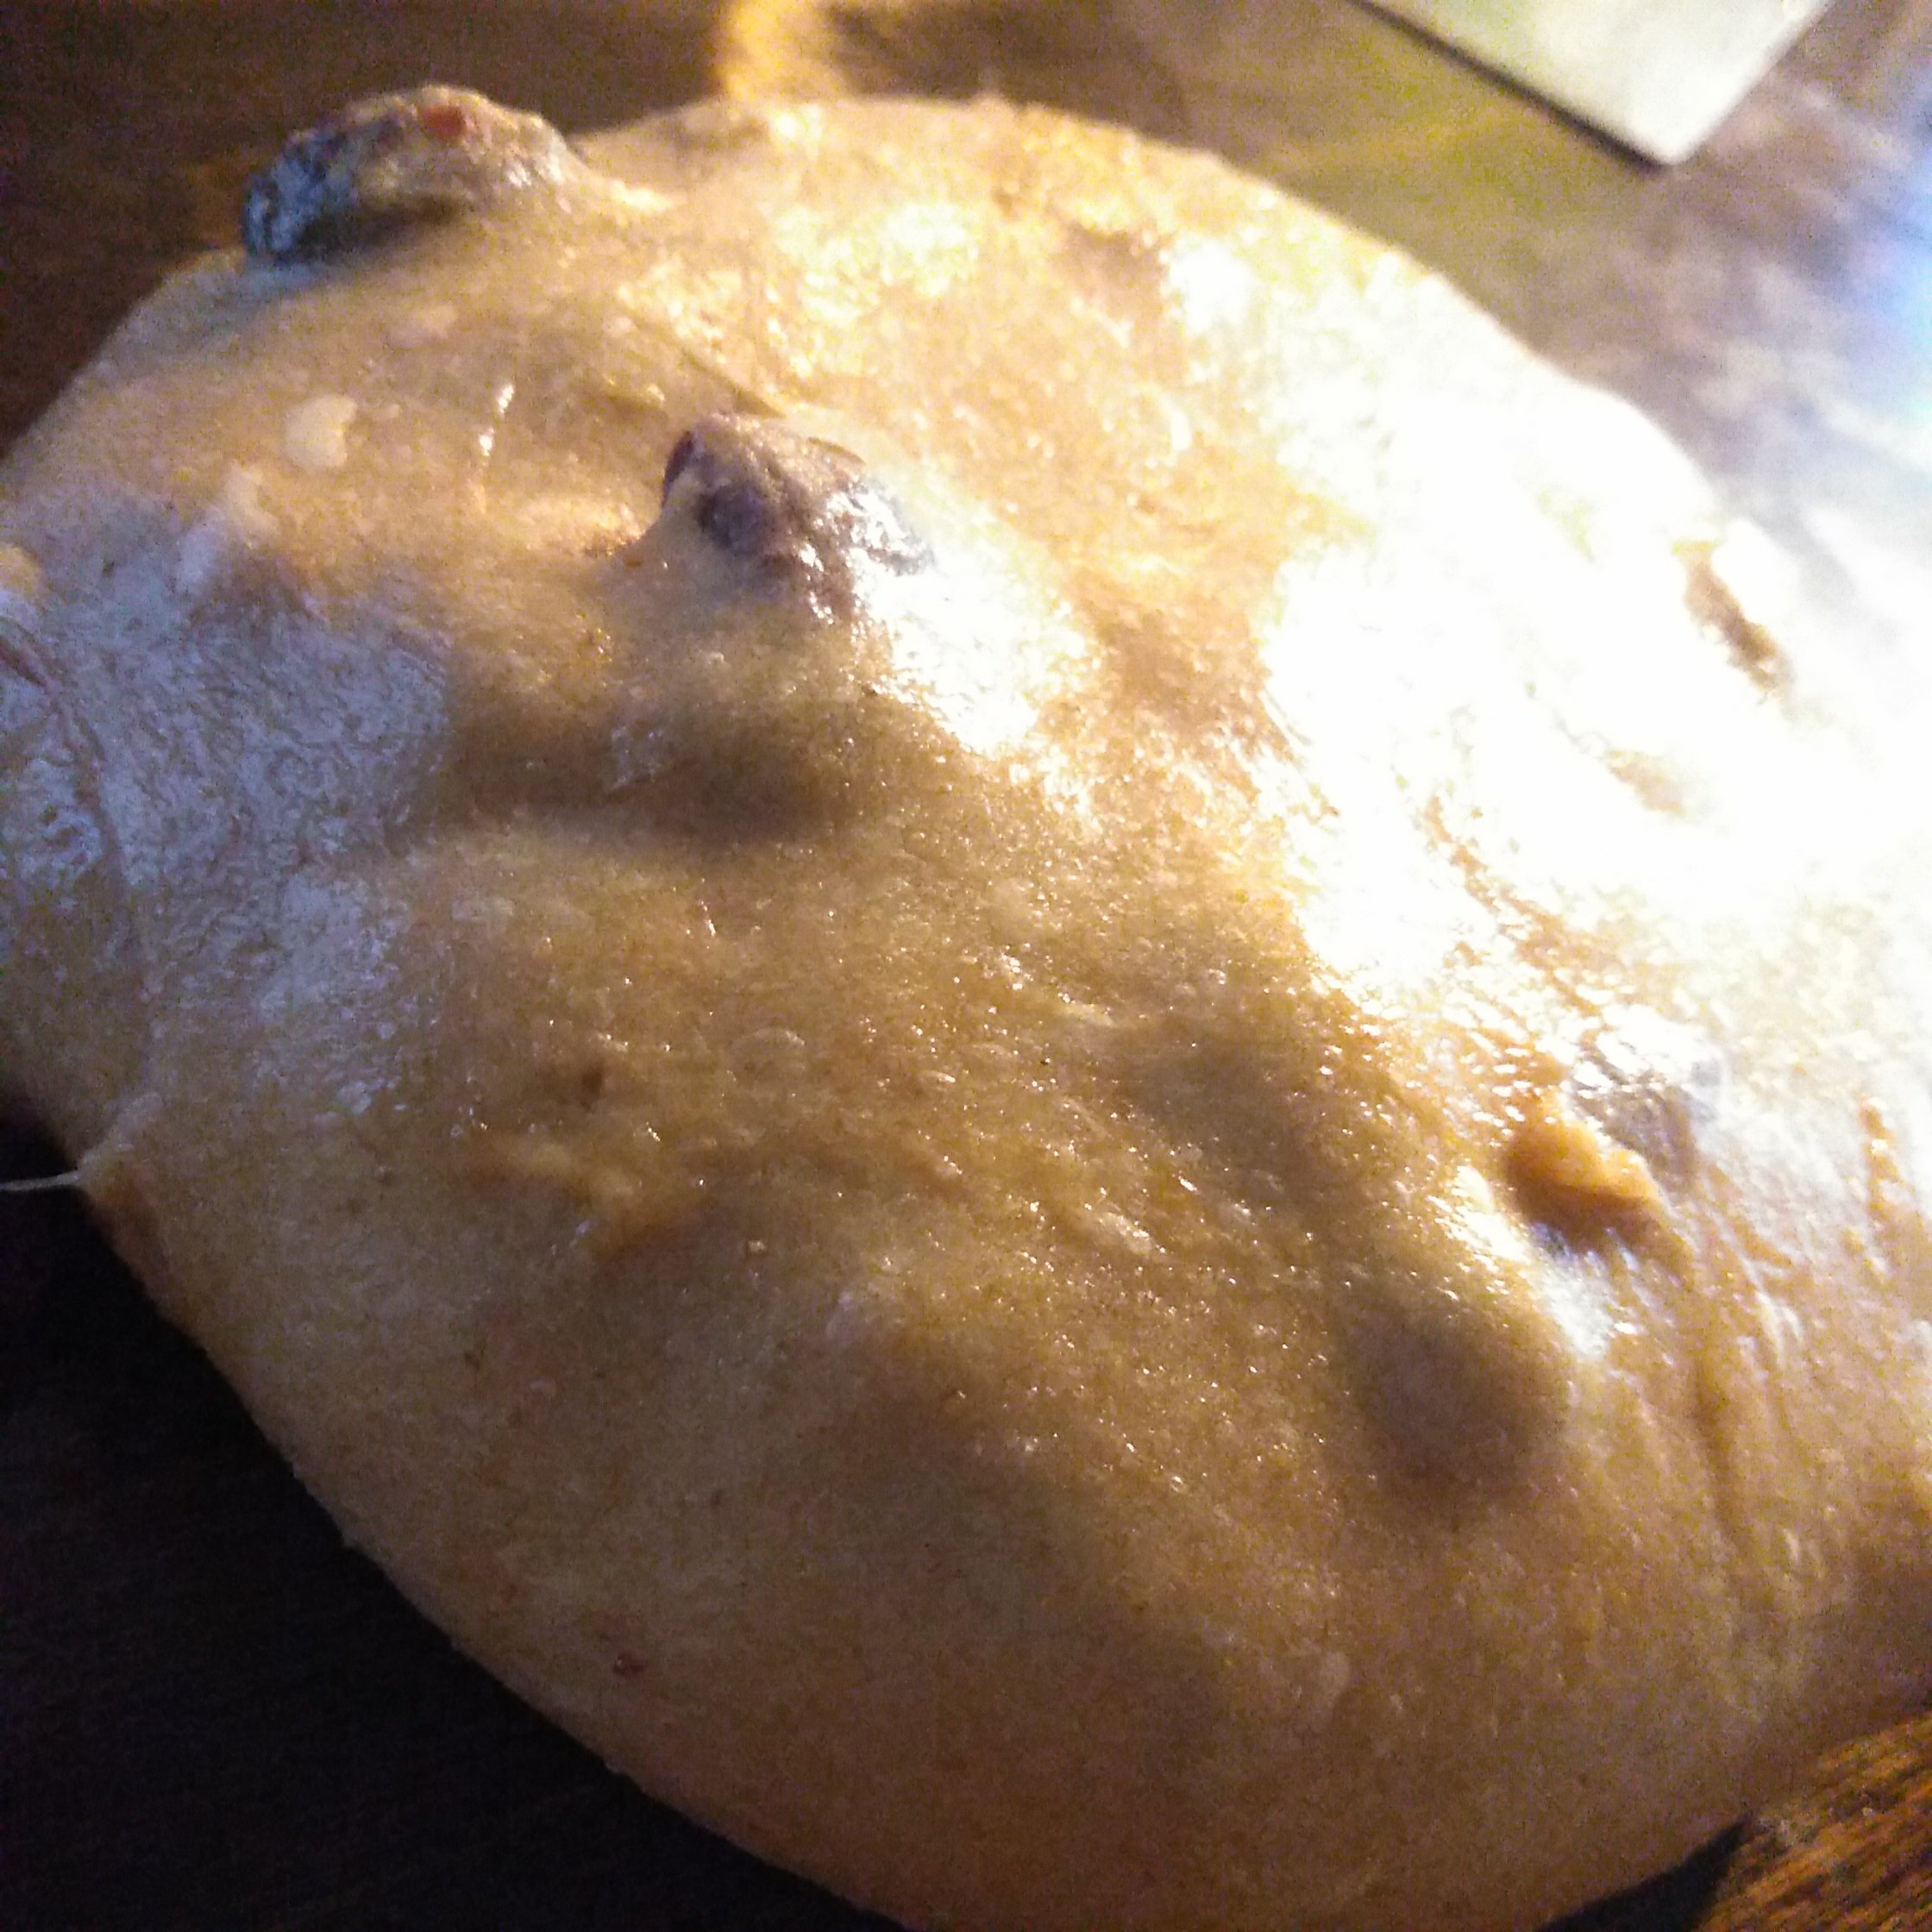
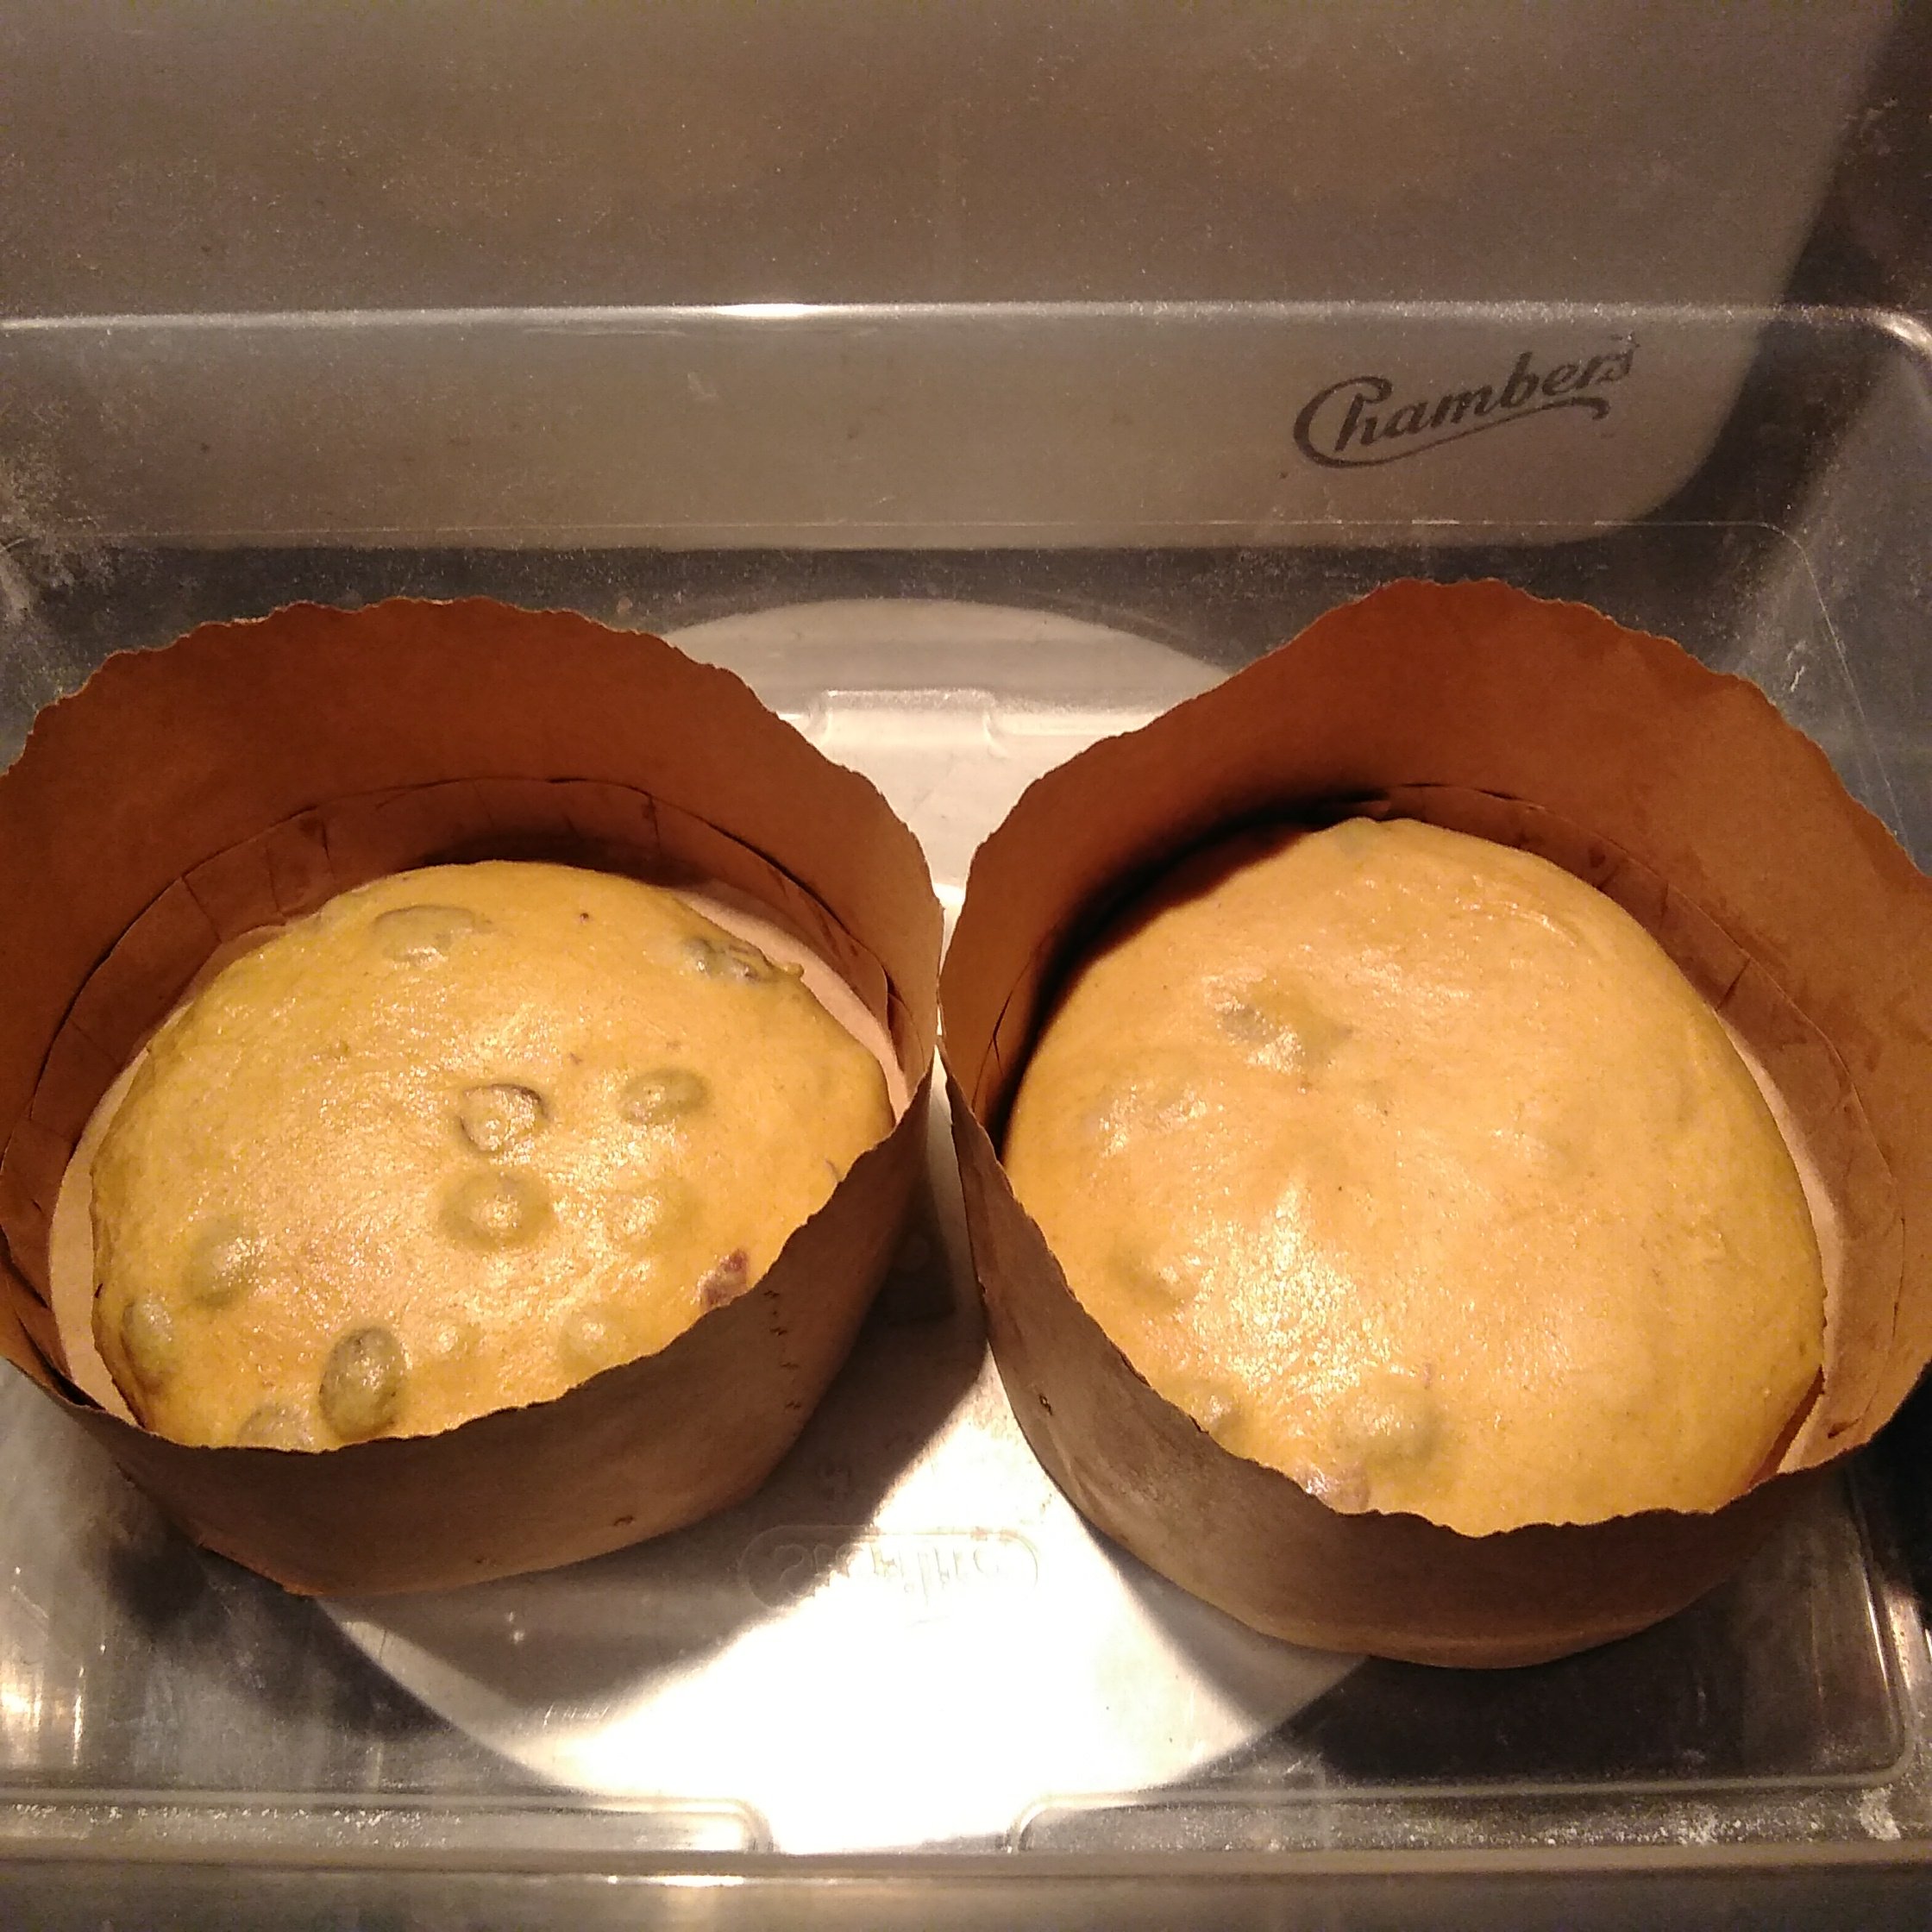
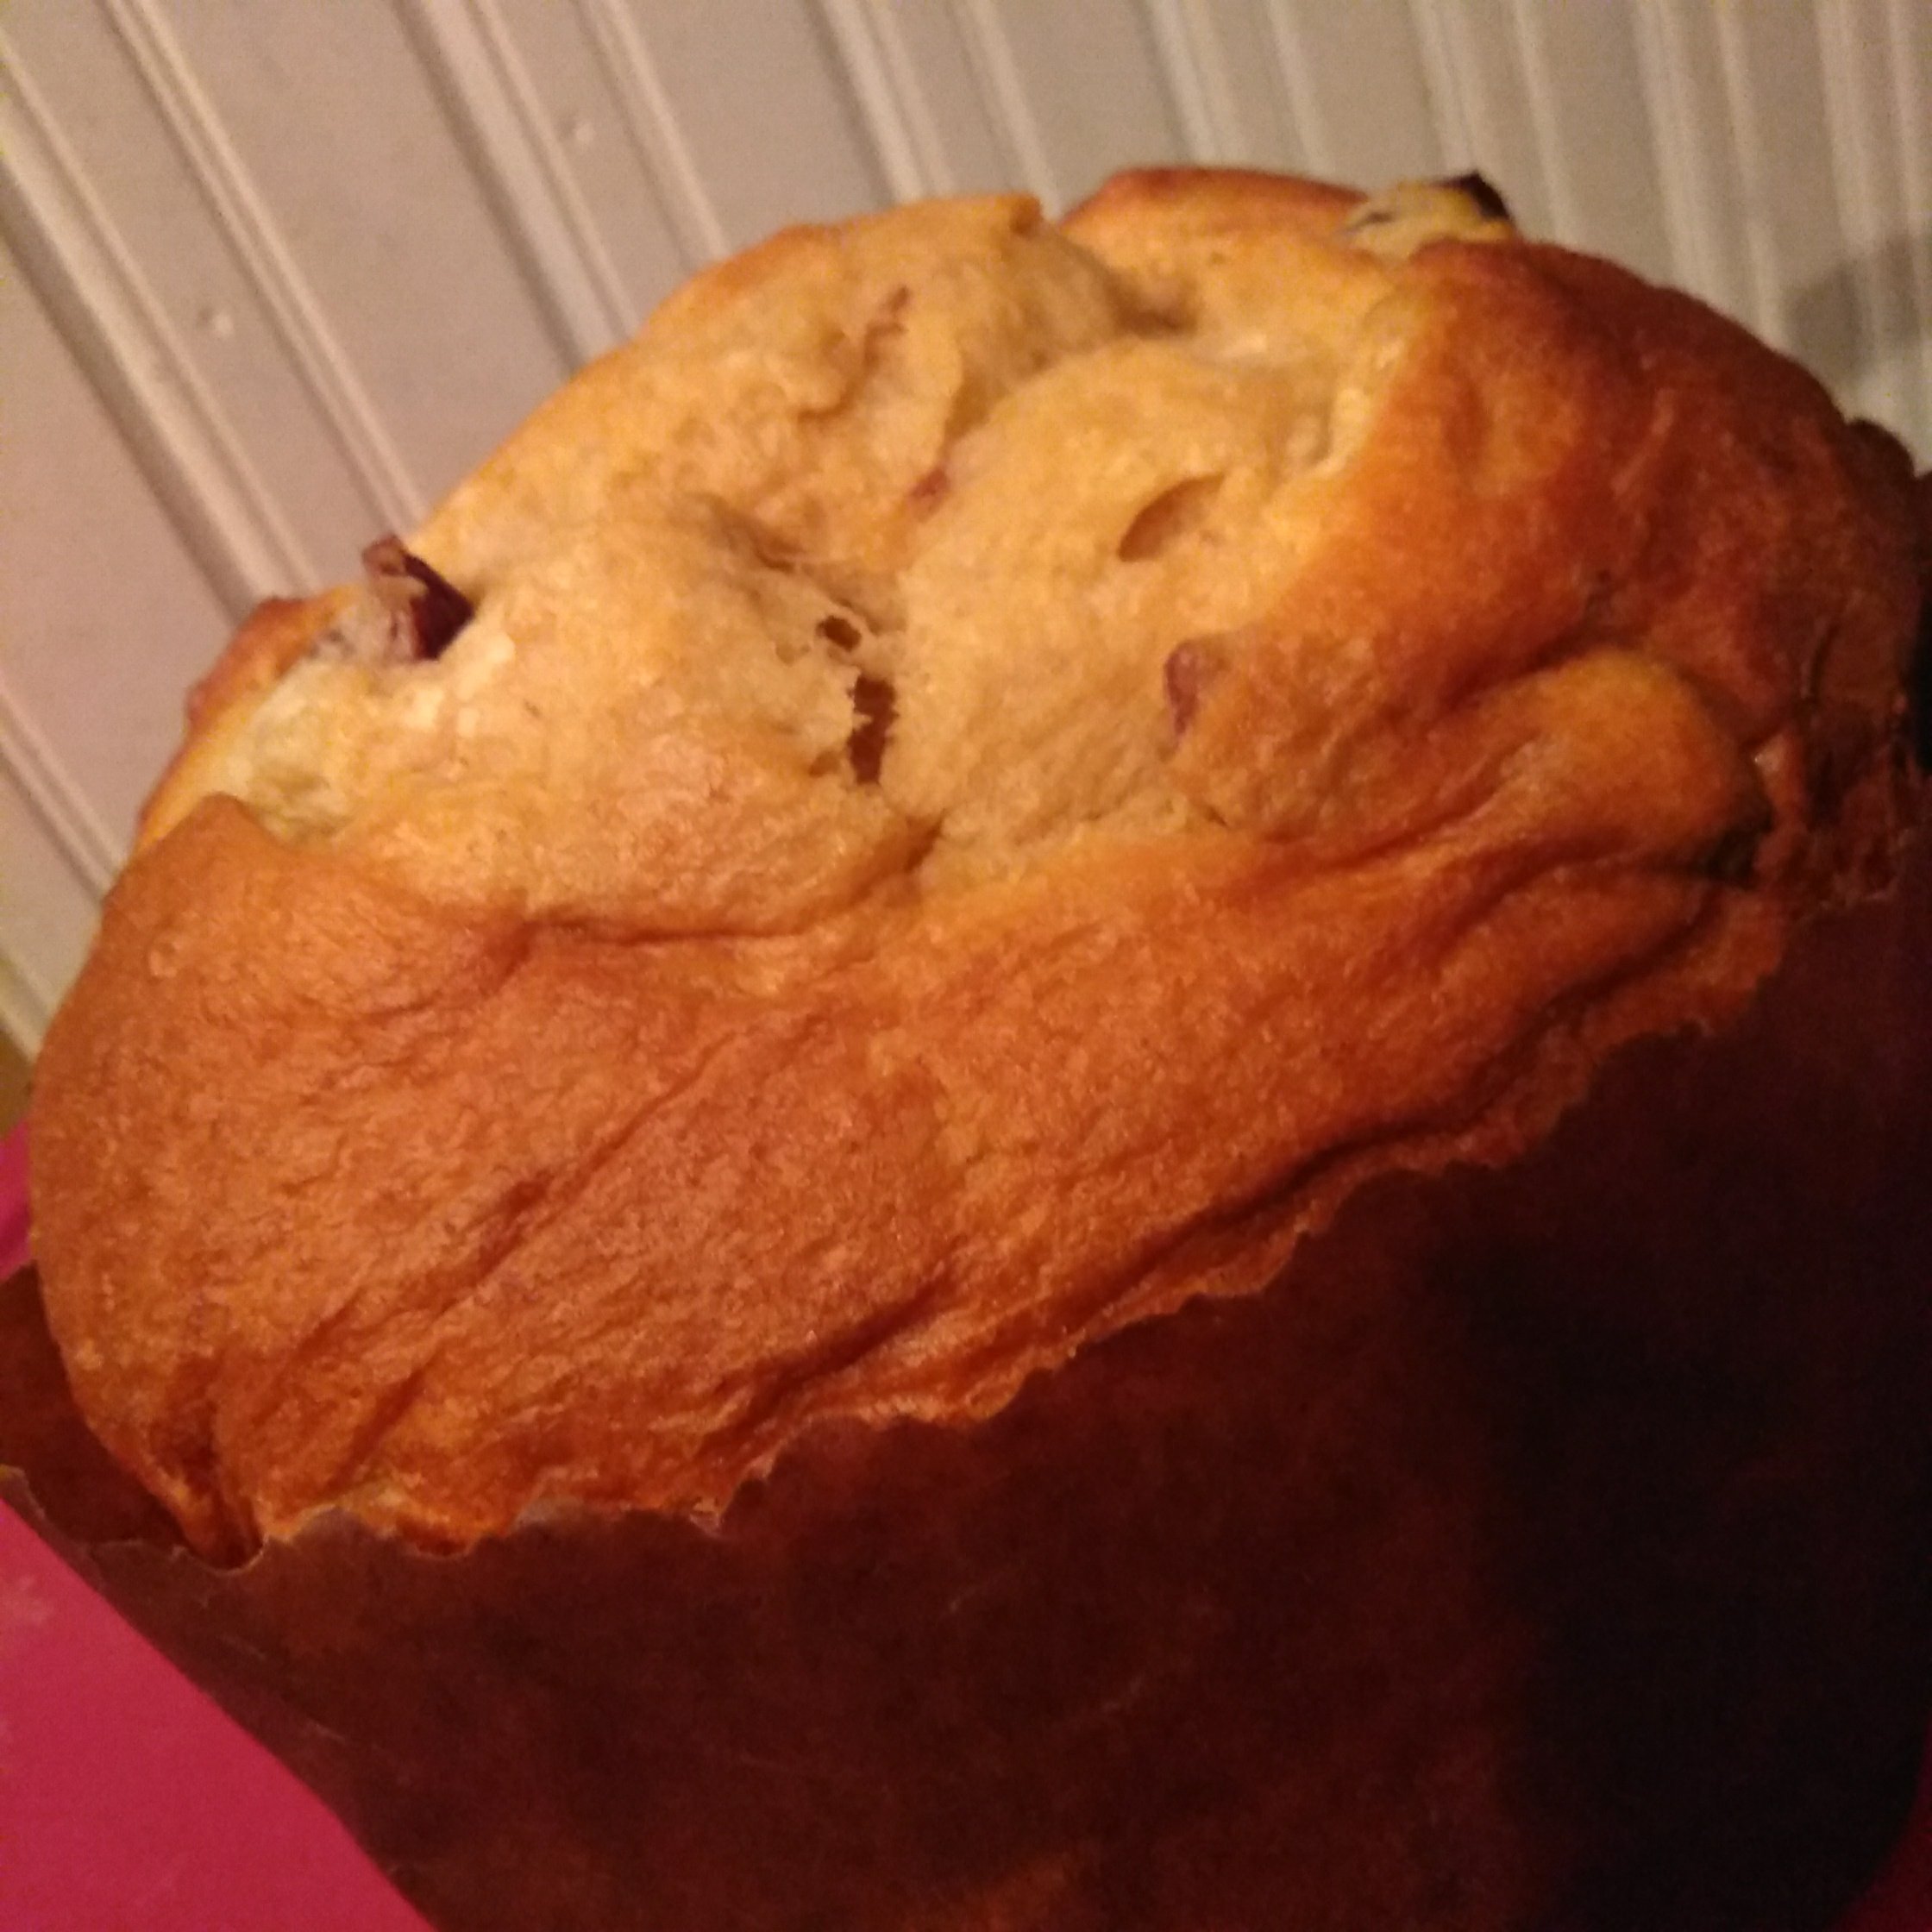
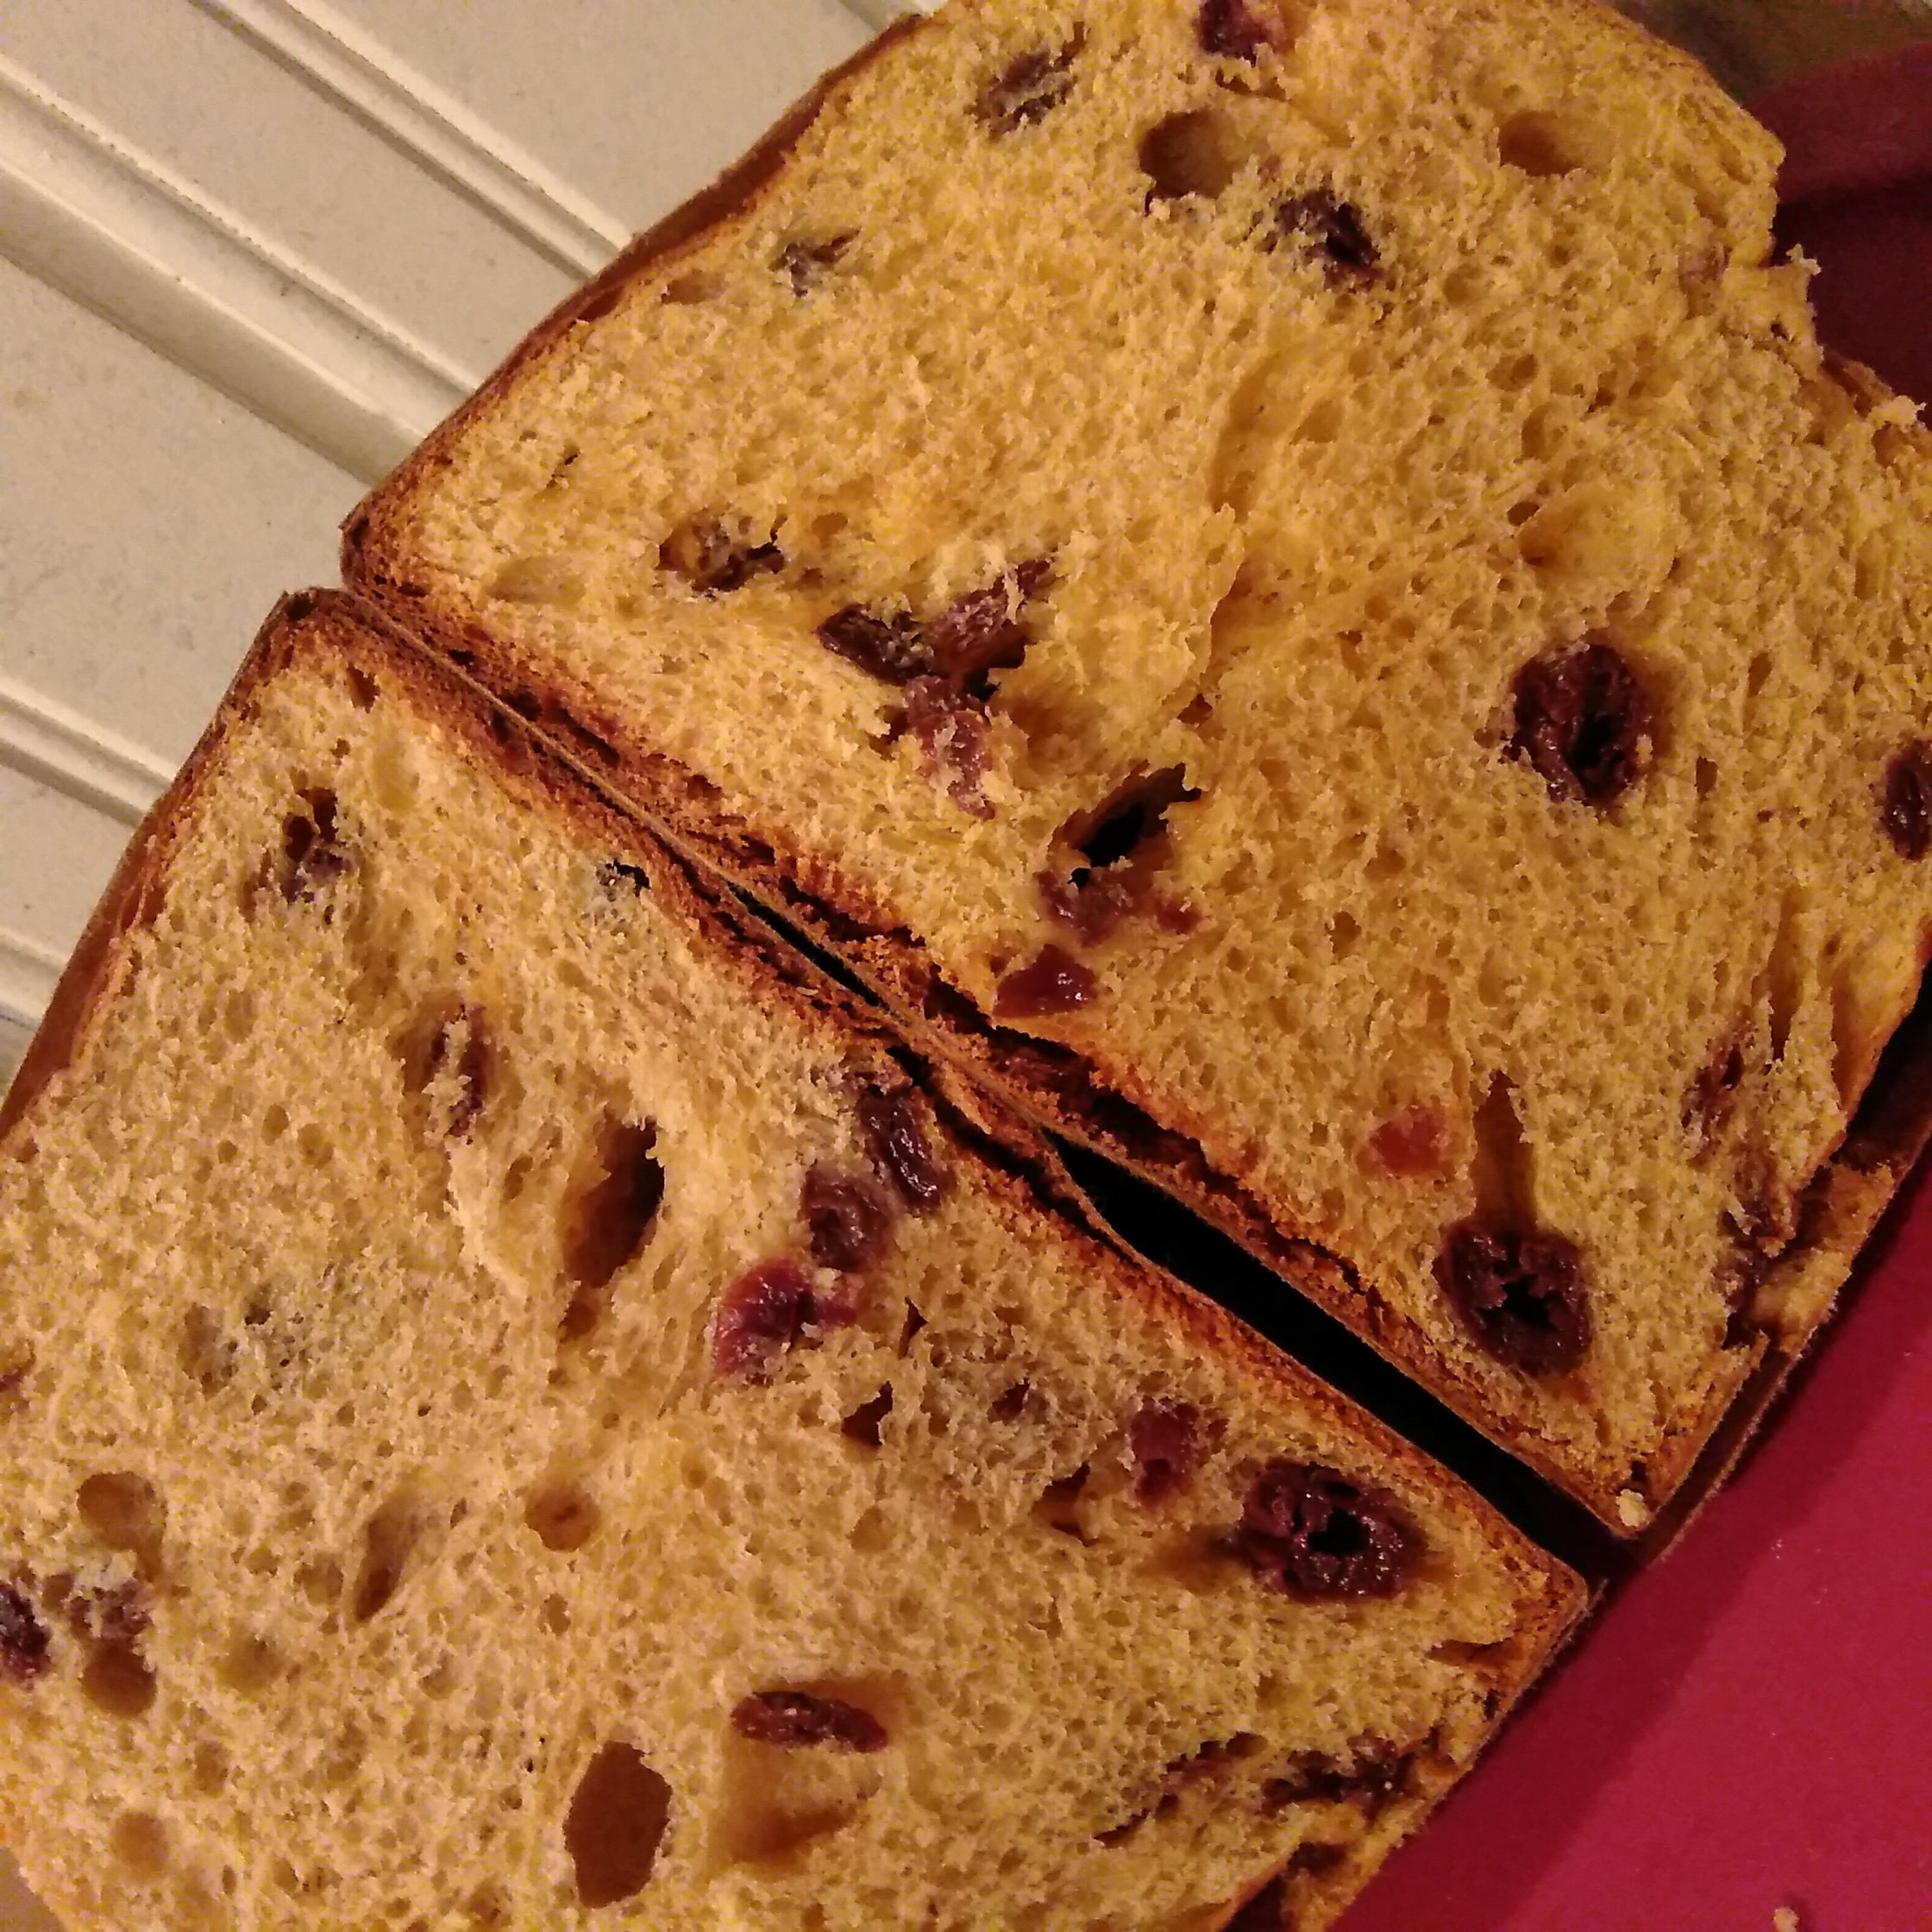
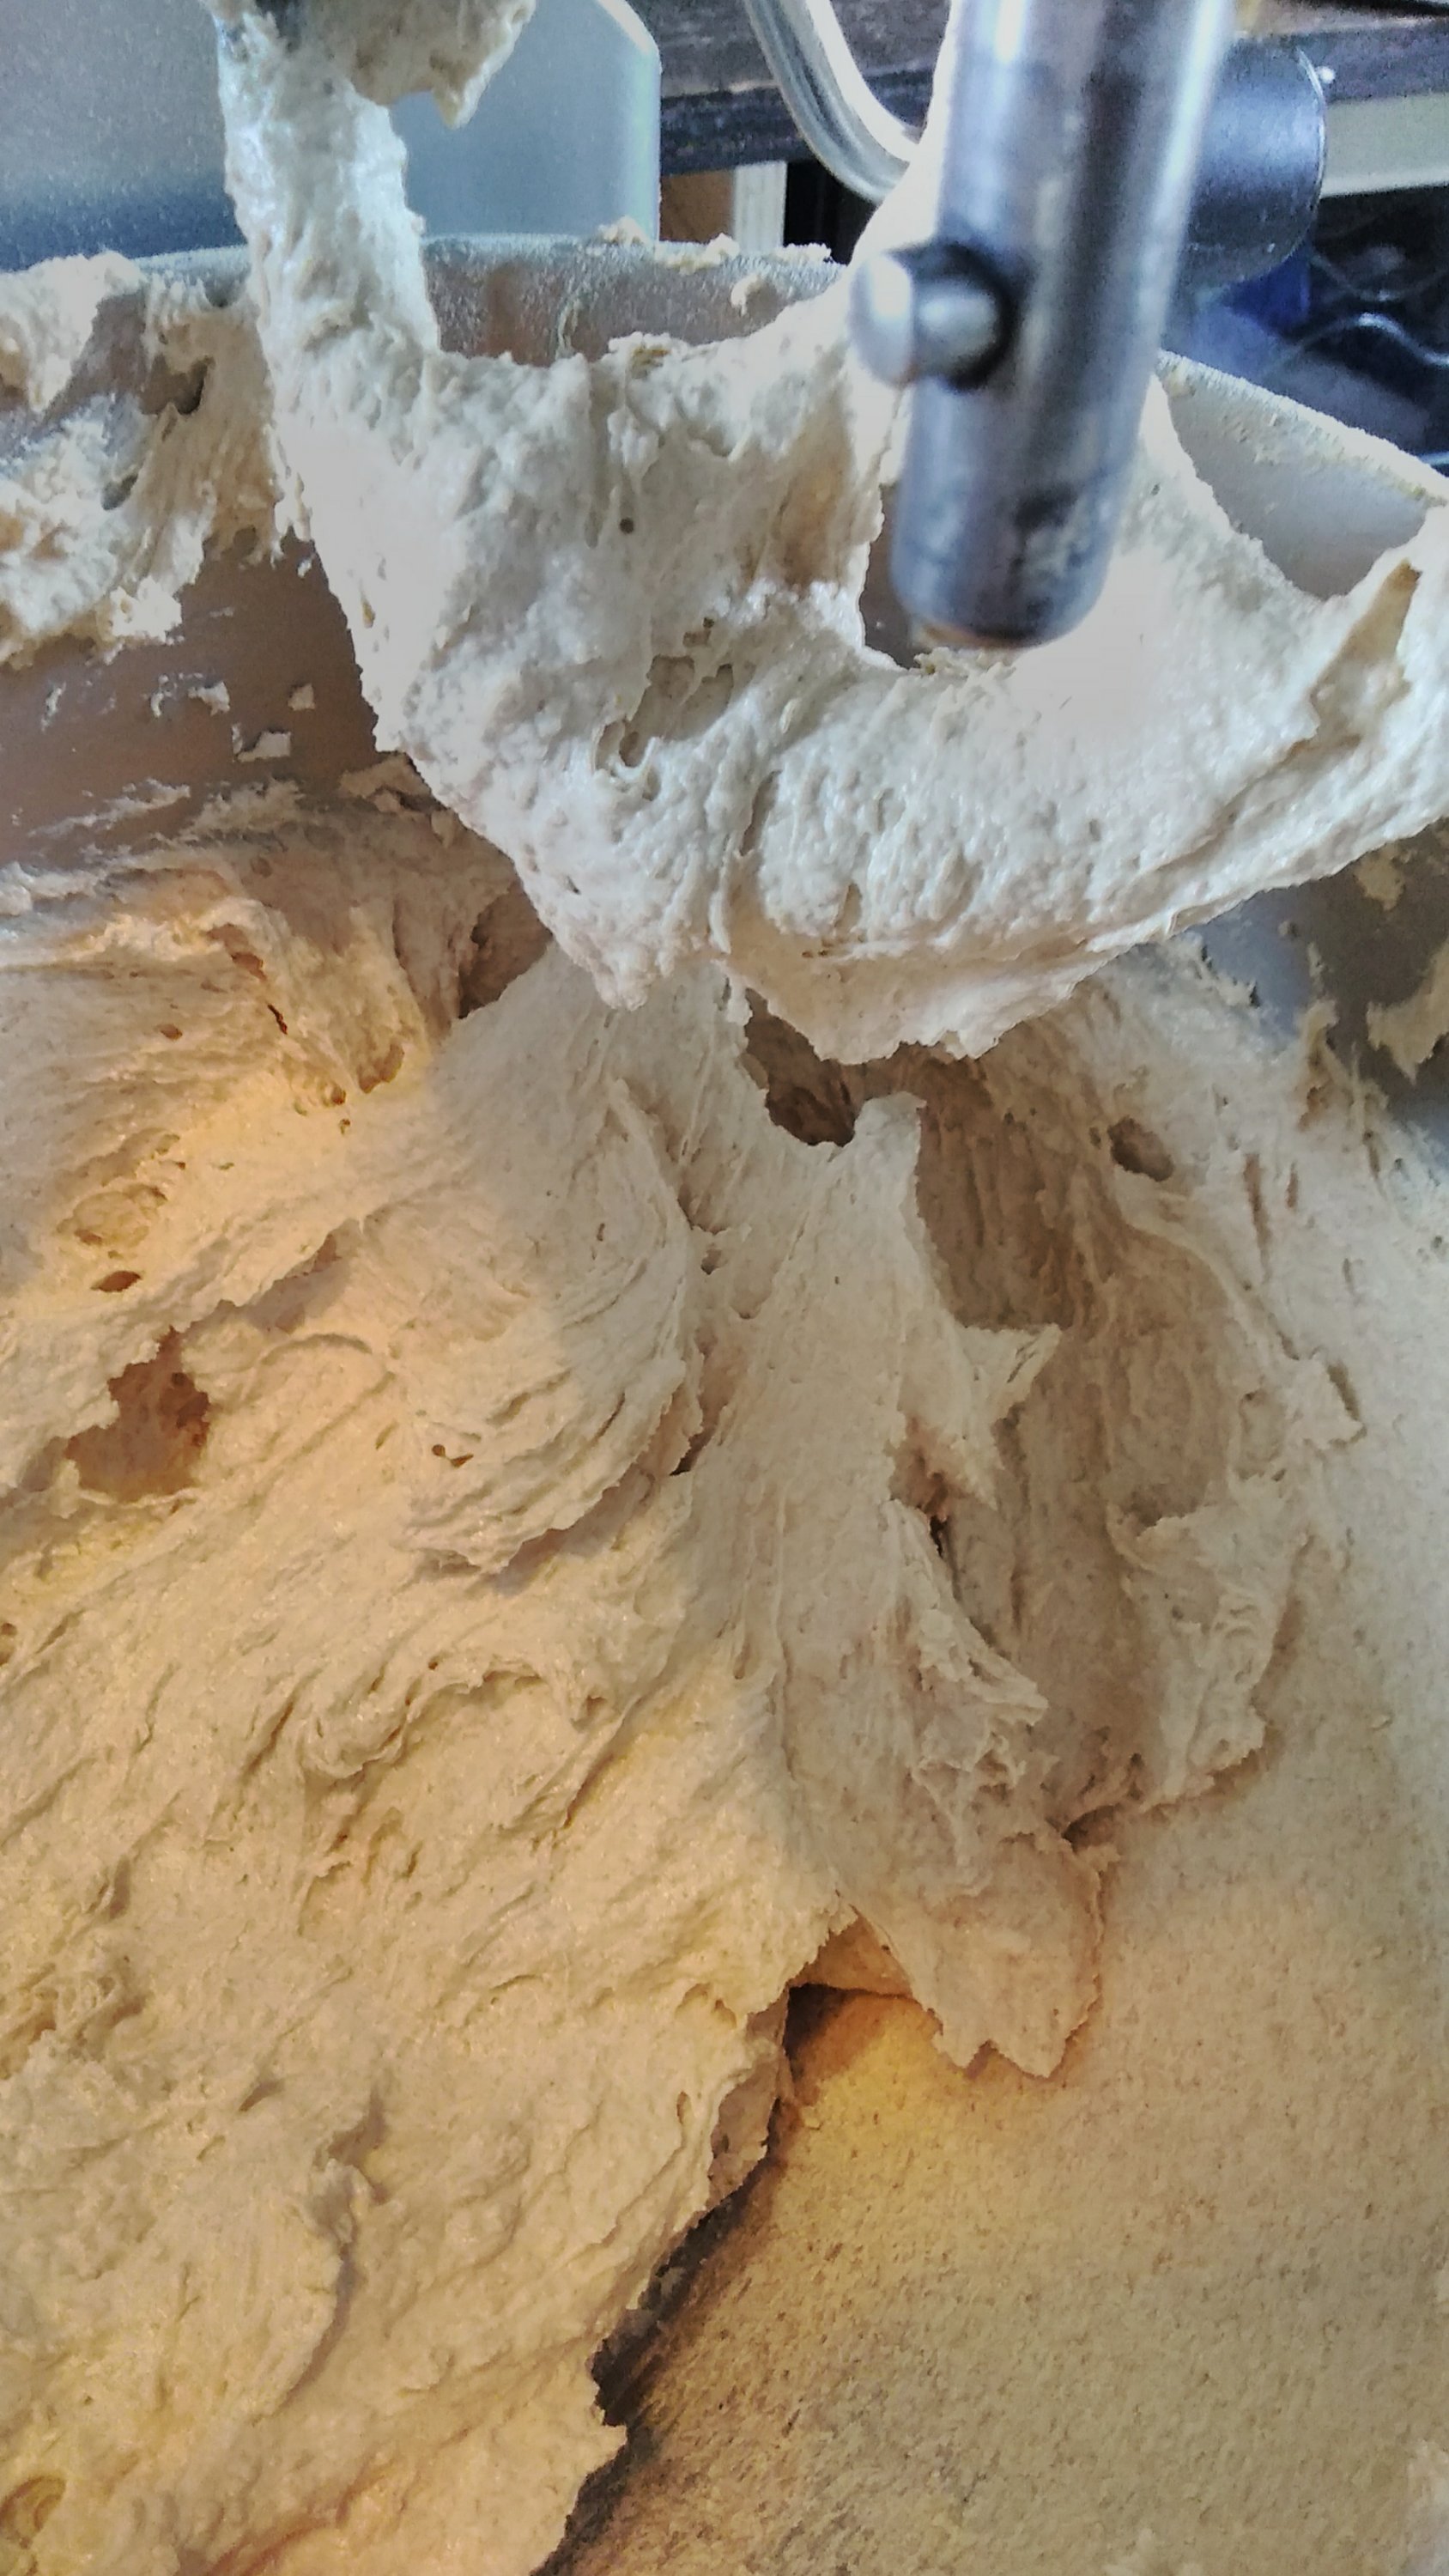
Before that, however, I want to share a few snaps (they’re not beautifully-staged photographs) at my first Massari-style panettone.
I used wild yeast water in my starter, and as a replacement for the water in the second dough.
Also, I used 50% organic whole wheat (ground with my Mockmill100).


The spreadsheet compares 8 different formulae, linked below each heading
Ingredients are listed as a percentage of the flour used across BOTH doughs.
An overview of the recipe (both doughs combined) is listed below the initial breakdown. These are formatted to show the variation of percentages between formulae.
In the lower right-hand corner of the sheet, there is an average formula which I have tweaked to exclude any values that seemed out of character. It is % and in g.
The “TARGET” box, highlighted blue (lower right hand of the sheet), can be changed to automatically compute a formula of your choice weight based on the average values.
if the embedded sheet doesn’t work for you, you can view the original using this link:
https://docs.google.com/spreadsheets/d/1aqWUYD3QWJ7SP4ZNDZXe1Q2Xigk-x1Q0DFLQV1Ahu0o/edit?usp=sharing
OBSERVATIONS
STARTER – Most formulae have 20% of solid starter (pasta madre, lievito madre, whatever-you-want-to-call-it). It is added only into the first dough.
“The minimum and maximum indicative quantities of sourdough to be used for 1 kg of flour: from 180/200 g [18-20%] minimum to 500g [50%] maximum. I noticed that a good dough is obtained without major problems with g 220-250 [22-25%] of mother yeast and 1 kg of flour”. (https://vdfpani.blogspot.com/2017/12/il-panettone-da-iginio-massari.html)
This amount can be altered depending on your own environmental variables. If you cannot maintain the warmer temperatures specified, perhaps you could try using more starter.
Just note that the primary function of the solid starter is that when maintained “correctly”, it has a low acidity. Therefore your final product does not have sour tones.
The starter should be refreshed and fed three times before use (if you start in the morning, you should be ready to make your first dough by around 8pm). I’ll leave you to research this process.
FLOUR – The quantity of flour is split 80/20 across the two doughs
SUGAR – Ranges from 44-49% with most formulae calling for 45%. This is divided approximately 25/20 across the two doughs
YOLKS – There was quite a variation here. One formulae was a low 23%, with another up at 55%! The formulae with the lower amounts of yolks generally seemed to call for slightly higher amounts of butter, but not always (see formulae 4). This is divided approximately 20/26.
BUTTER – Ranges from 50-70%, but the more common % was around 60%. This is divided approximately half between the two doughs, but slightly less was added to the first dough. Some methods called for dividing the butter in the second dough into two parts: 75% was left soft, 25% was melted and added to the fruit suspensions before adding them to the dough.
WATER – Ranges from 40-52, but most methods say that this amount is to be adjusted to get your dough to the desired consistency. This is divided approximately 28/12.
I have used wild yeast water.
HONEY – Appears to be added for flavour. Massari is reported to use “only the best” honey. Most used 5%, but one was as high as 20%.
MALT – Was only called for in two of the recipes. Presumably just for dimension of flavour.
AROMA – This is a difficult one to pin down as many of the formula were calculated from recipes where they called for “zest of one orange” and “beans from one vanilla pod”. How do you measure that as a percentage?!
The aromatic mixture comprises vanilla beans (Massari reportedly uses a blend of three different beans for maximum flavour), orange zest and lemon zest. These appear to be measured at 10% each of the honey weight. So if the honey is 5% of the flour weight, you’d add 0.5% for each of vanilla beans, orange zest, and lemon zest.
SUSPENSIONS – Up to 40% of the flour weight is used for the weight of sultanas. Most listed the candied orange at 30% and the candied lemon 10%.
One had the orange as half of the sultanas (20%) and the lemon at half of that (10%). It makes for easy calculations.
I guess this comes down to personal/customer preference.
METHODS
Again, there were variations where method was concerned. This is part of the reason for linking the sources – you can read in more detail if you so wish.
I cannot overemphasize the importance of grasping the method/process/technique.
There are many different formulae for panettone – much of the process, however, is the same.
Establishing gluten formation early on in the process is critical. Once this is done, go slowly with the additions, ensuring that each has fully incorporated before moving on.
A mixer is fairly imperative. I have yet to come across a set of instructions that are made for making panettone exclusively by hand.
BUT, I had found some videos last year where the doughs were mixed using a hand mixer rather than a planetary mixer. So if you, like my mother, are in the category of having only a hand mixer, I have linked those videos at the bottom. They are in Italian, but just watch and you’ll see what is possible.
NOTE: One site suggested that if you try to prepare too little dough, your mixer might struggle because of the fit of hook/paddle and bowl – and you find it impossible to achieve the correct development.
I have successfully made a 1kg batch of dough in two parts using my 10-speed 6-quart mixer and only my dough hook using mostly the first two speeds. But you need to understand the tendencies of the dough and be ready to adjust the addition of ingredients as needed.
That being said (and as I wrote in my document last year), I have seen methods where EVERYTHING in the first dough is added at once, and the mixer is just left to spin until everything comes together… and methods where very small additions are added in precise steps.
It’s difficult when you don’t know what to expect. And I hate to say it, but sometimes the failures (yes, I’ve had many) in making this dough can allow you to realise when something isn’t quite right, and you can fix it before it gets worse.
This takes time to come together. If you move ahead prematurely (ie. before the dough has fully absorbed whatever you just added), each additional step will only make it worse.
I’ve had a beautifully-developed dough turn into a thick cake batter with zero extensibility.
It’s HEARTBREAKING.
Also note that the dough needs to be no warmer than 25C.
The gluten allegedly starts to break down if too warm during mixing. (I’m not going to put this to the test…)
First dough – under 30 minutes to mix, 10-14 hours to triple
Most methods have you mix the water and flour to form a very stiff dough over the duration of 15 minutes.
The sugar may or may not have been pre-dissolved into the water.
Sometimes 1/3 of the yolks are also added to this first mixture (in my case the dough was too stiff, and the extra moisture from the yolks helped considerably.
If not added at the start, the sugar is added next with the butter (softened -but not melted- in pieces over the space of 5 minutes or so, allowing each piece to be integrated with the dough before adding the next) and generally the second 1/3 of the yolks.
The starter dough is then added with the final 1/3 of the yolks.
Expect the first dough to take around 25 minutes to mix.
I did this with the dough hook on my stand mixer using the “stir” speed and #2.
Transfer the dough to an oiled container and allow to rise in a warm (approximately 75-78F / 24-26C) area for 10-14 hours. The dough MUST MUST MUST triple in volume.
The warning is listed everywhere. If the first dough isn’t given the full time to triple, the second dough will be impeded by three times however short you cut the first first.
What they mean is that if you start mixing the second dough after 12 hours, when it really needed 13, then your final dough is going to take [13-12=1 hour too short, MULTIPLIED by 3] 3 hours longer. Consider cutting the first rise short by 2 hours … that’s going to be 6 additional hours needed for the second dough.
I haven’t put this to the test. Why would I. But it’s not worth the risk.
Second dough – around 45 minutes to mix, 8-14hours to triple
The first dough is mixed with the flour and aromatic preparation for around 15 minutes until well developed and smooth.
Note: Some recipes hold back on the aromatic preparation until the dough and flour have been fully combined.
The next additions are made with 1/3 of the egg yolks each time. The dough should be allowed to combine fully before proceeding to the next addition.
1/3 yolks + sugar (+ honey if adding separately, + malt powder)
1/3 yolks + salt [Do not put the salt in until after the sugar has been absorbed (you risk too much moisture too early on if the salt it added too early (https://www.dissapore.com/ricette/panettone-fatto-in-casa-5-errori-da-evitare/) ) ] In my first trial of this recipe, I believe I proceeded to this phase too soon. My dough did not want to come together and I was afraid that I had somehow ruined it.
1/3 yolks + 75% total butter in second dough – added in pieces as in the procedure for the first dough.
Water is added next, using the formula as a starting point.
You should get the dough to a consistency that you’re comfortable with. Some will be comfortable with a higher hydration than others.
At this point, the melted butter (25% that had been held back from the total in the second dough) is mixed in with the suspensions.
Then are then added to the dough and mixed on the lowest speed for around 5 minutes (until evenly distributed).
My personal theory on why melted butter is added to the fruit: The fruit is coated with a barrier which prevents the moisture transferring into the dough. The moisture will be somewhat trapped until baking, and form a pocket of steam around (a bubble) the fruit during the baking process. I’ve not put this to the test, so we’ll see.
The second dough should not take no more than 45 minutes, but ideally around 35 minutes.
…but this is based on using a 2-arm plunging mixer, and not a planetary/KitchenAid-type.
As I wrote above, the first time I tried my average/combination formula the dough seemed to want to deteriorate – I think I moved from the sugar to salt phase too quickly – it ended up taking around 55 minutes from start to finish.
I just watched carefully (lots of fails have taught me what to look for), and when I added the water, somehow everything came together as it should.
The panettoni were the best I’ve made/tasted.
Finishing
The dough is allowed to rest in a warm area in an oiled container.
If you’re a stretch & fold type person, then this is when you do 3 or 4 over the space of 2 hours or so.
Transfer the dough to your work surface to divide as needed.
Preround using your hands or a bench scraper (search the Italian term “pirlare” on YouTube).
Rest for 30 minutes or so.
Final round and transfer to your panettone mold.
Cover and allow to rise at 82F / 28C for approximately 4-8 hours (depending on whether you did a bulk with S&F or not).
I saw mention in one place that it might need 14 hours. Seems quite different to the other times. But the time will ultimately depend on your environment and starter strength.
In any case, it should triple in volume.
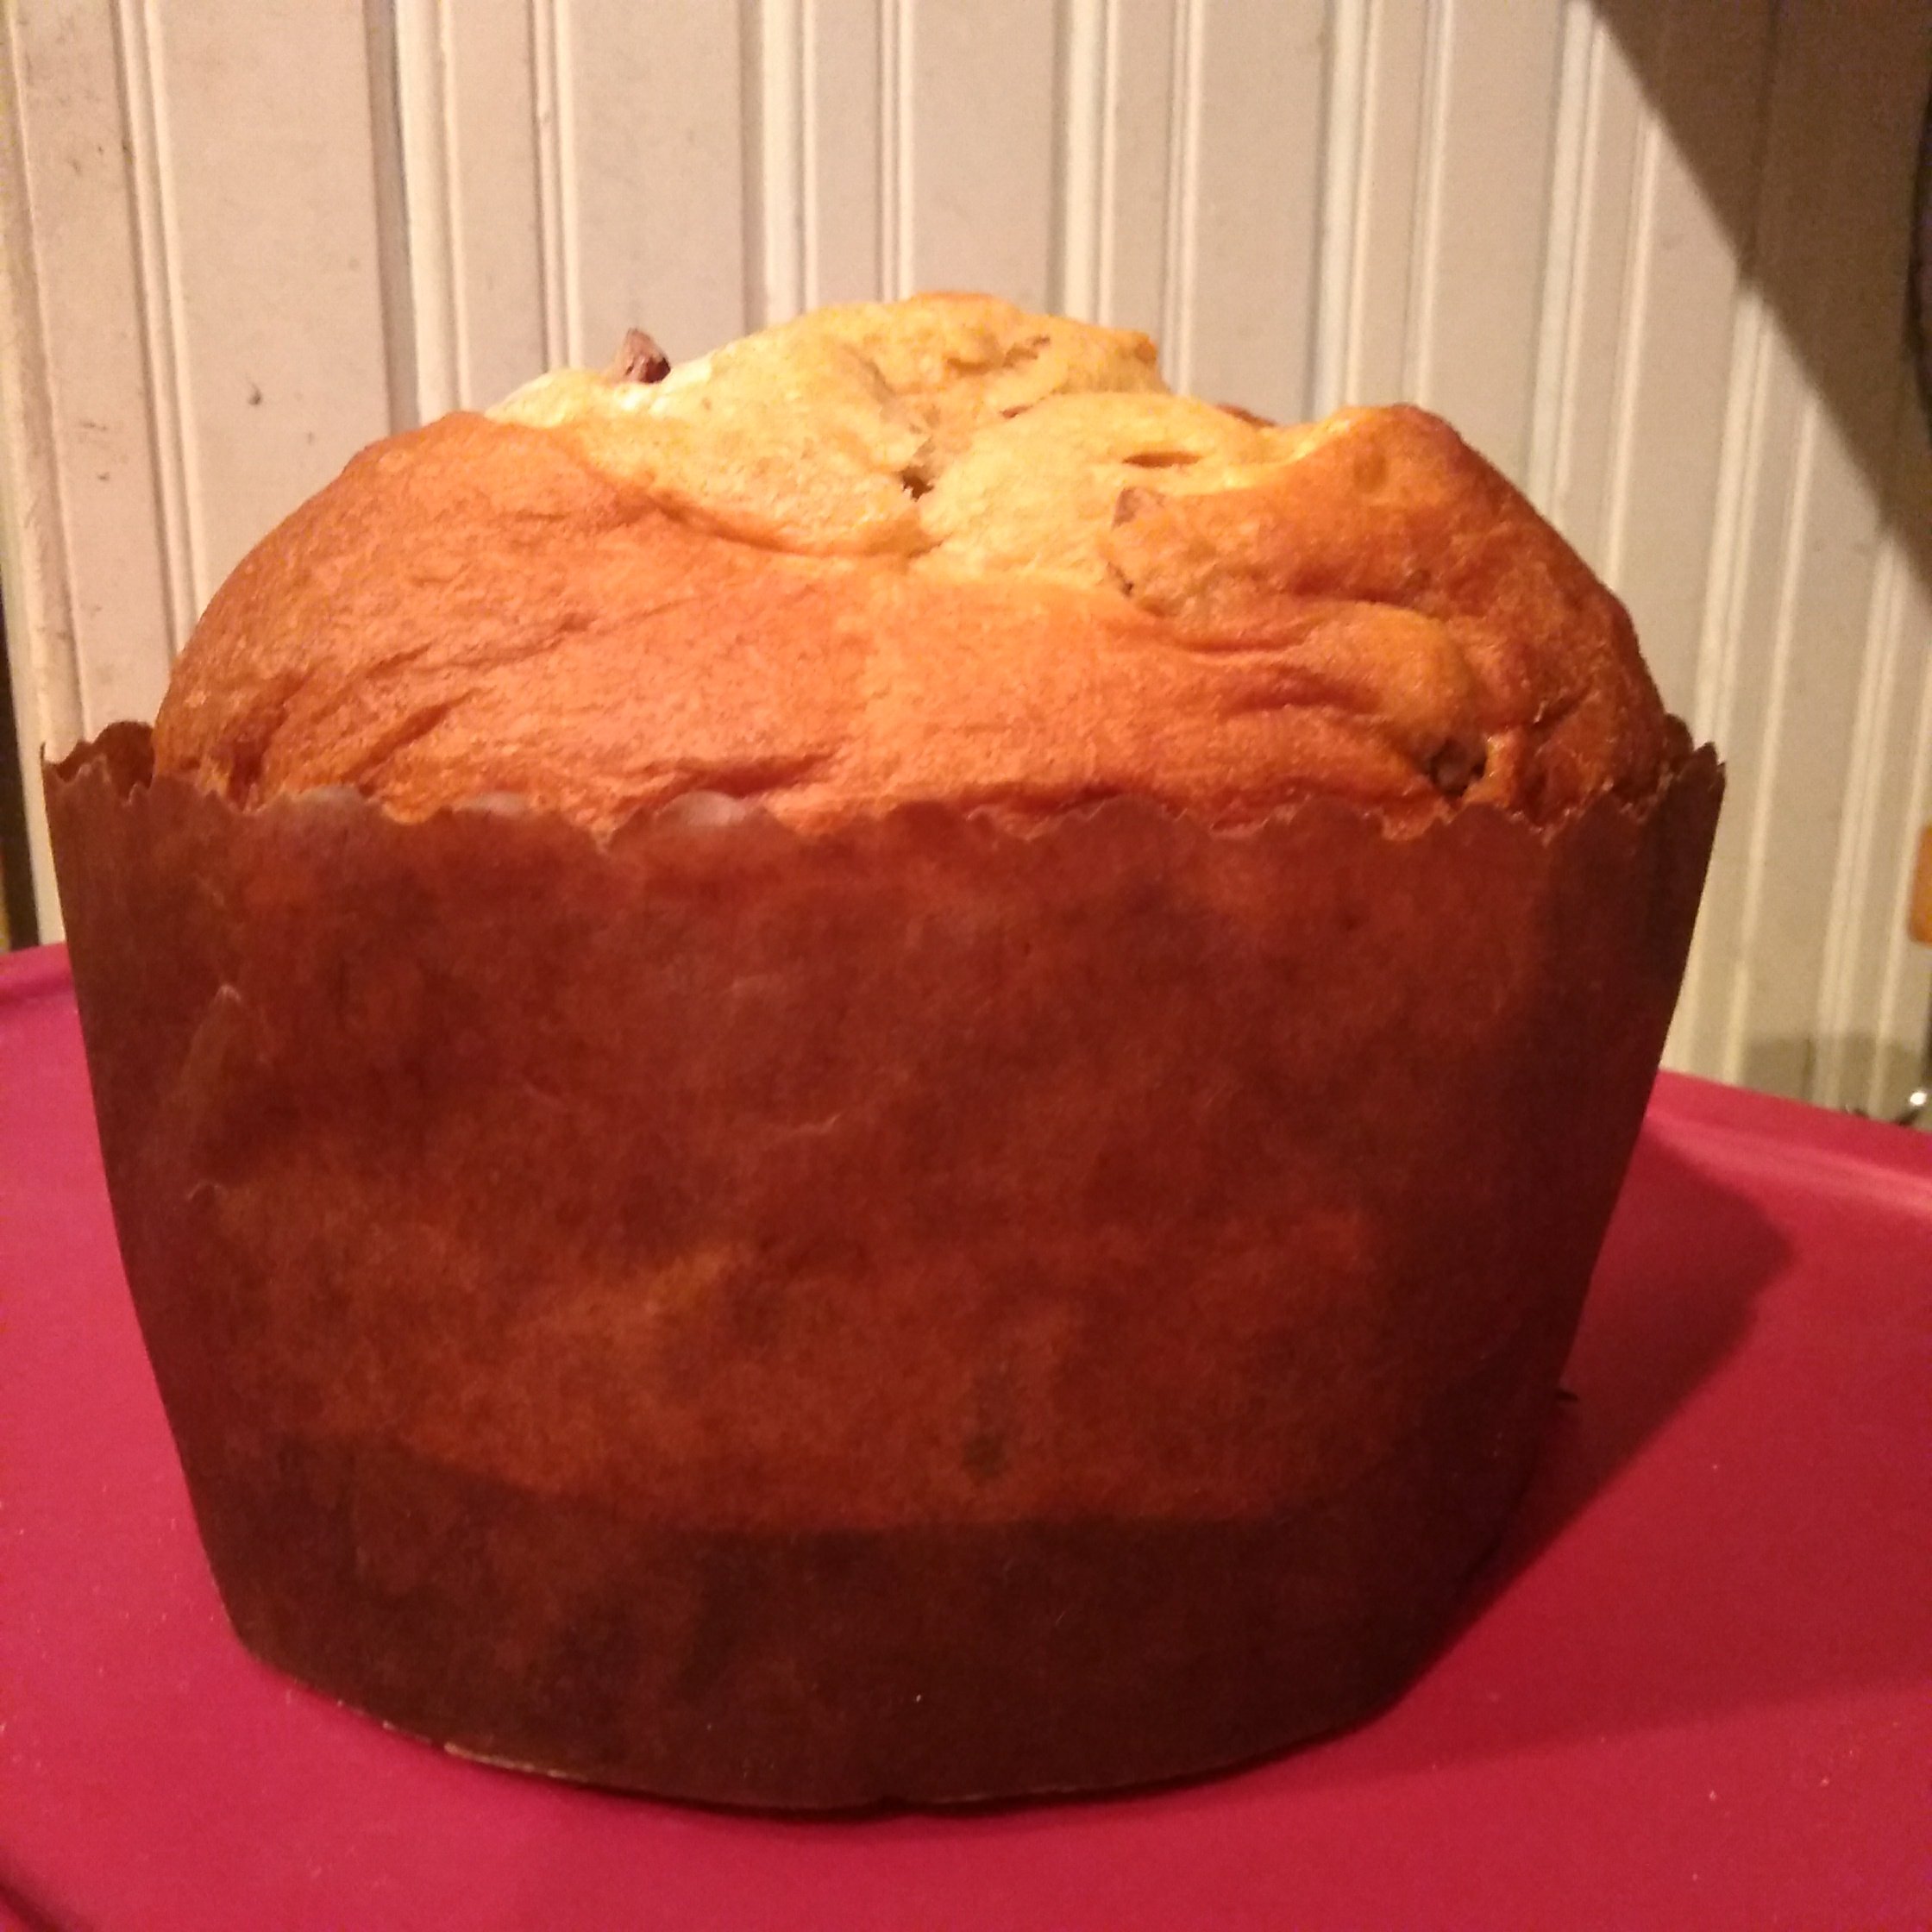
Bake at 310F – 350F for 40-60 minutes. I know. It’s a HUGE variation in temperature and duration.
Core temperature is targeted at 195-200F (though I saw someone referencing 185F).
My first attempt baked at 350F/175C for around 45 minutes, and ended with an internal temperature of 200F.
The crumb was superbly moist.
Inverting the panettoni appears to have a double purpose:
1) the top doesn’t collapse
2) more of the moisture is retained in the mold as it evaporates into the casing rather than out of the top
It is said that panettone cooked with amaretto glaze rises better due to the steam that becomes trapped underneath.
apricot kernals- 25 grams
hazelnuts – 50 grams
sugar – 300 grams
cocoa – 10 grams
corn flour – 10 grams
starch – 10 grams
egg whites- 50 grams
alternative (http://www.wildyeastblog.com/panettone/)
Glaze Ingredients (optional; this makes enough for two loaves):
- 55 g granulated sugar
- 3 g ground almonds (or almond flour)
- 4 g vegetable oil
- 4 g corn flour
- 4 g cocoa powder
- 30 g egg whites
- scraped seeds from 1/5 of a vanilla bean
Topping (optional):
- powdered sugar
- pearl sugar
- whole blanched almonds
(if you search for “glassa per panettone” you’ll find a selection of recipes that can be translated)