
Despite the title, it actually all started with a manual food processor.
This one.
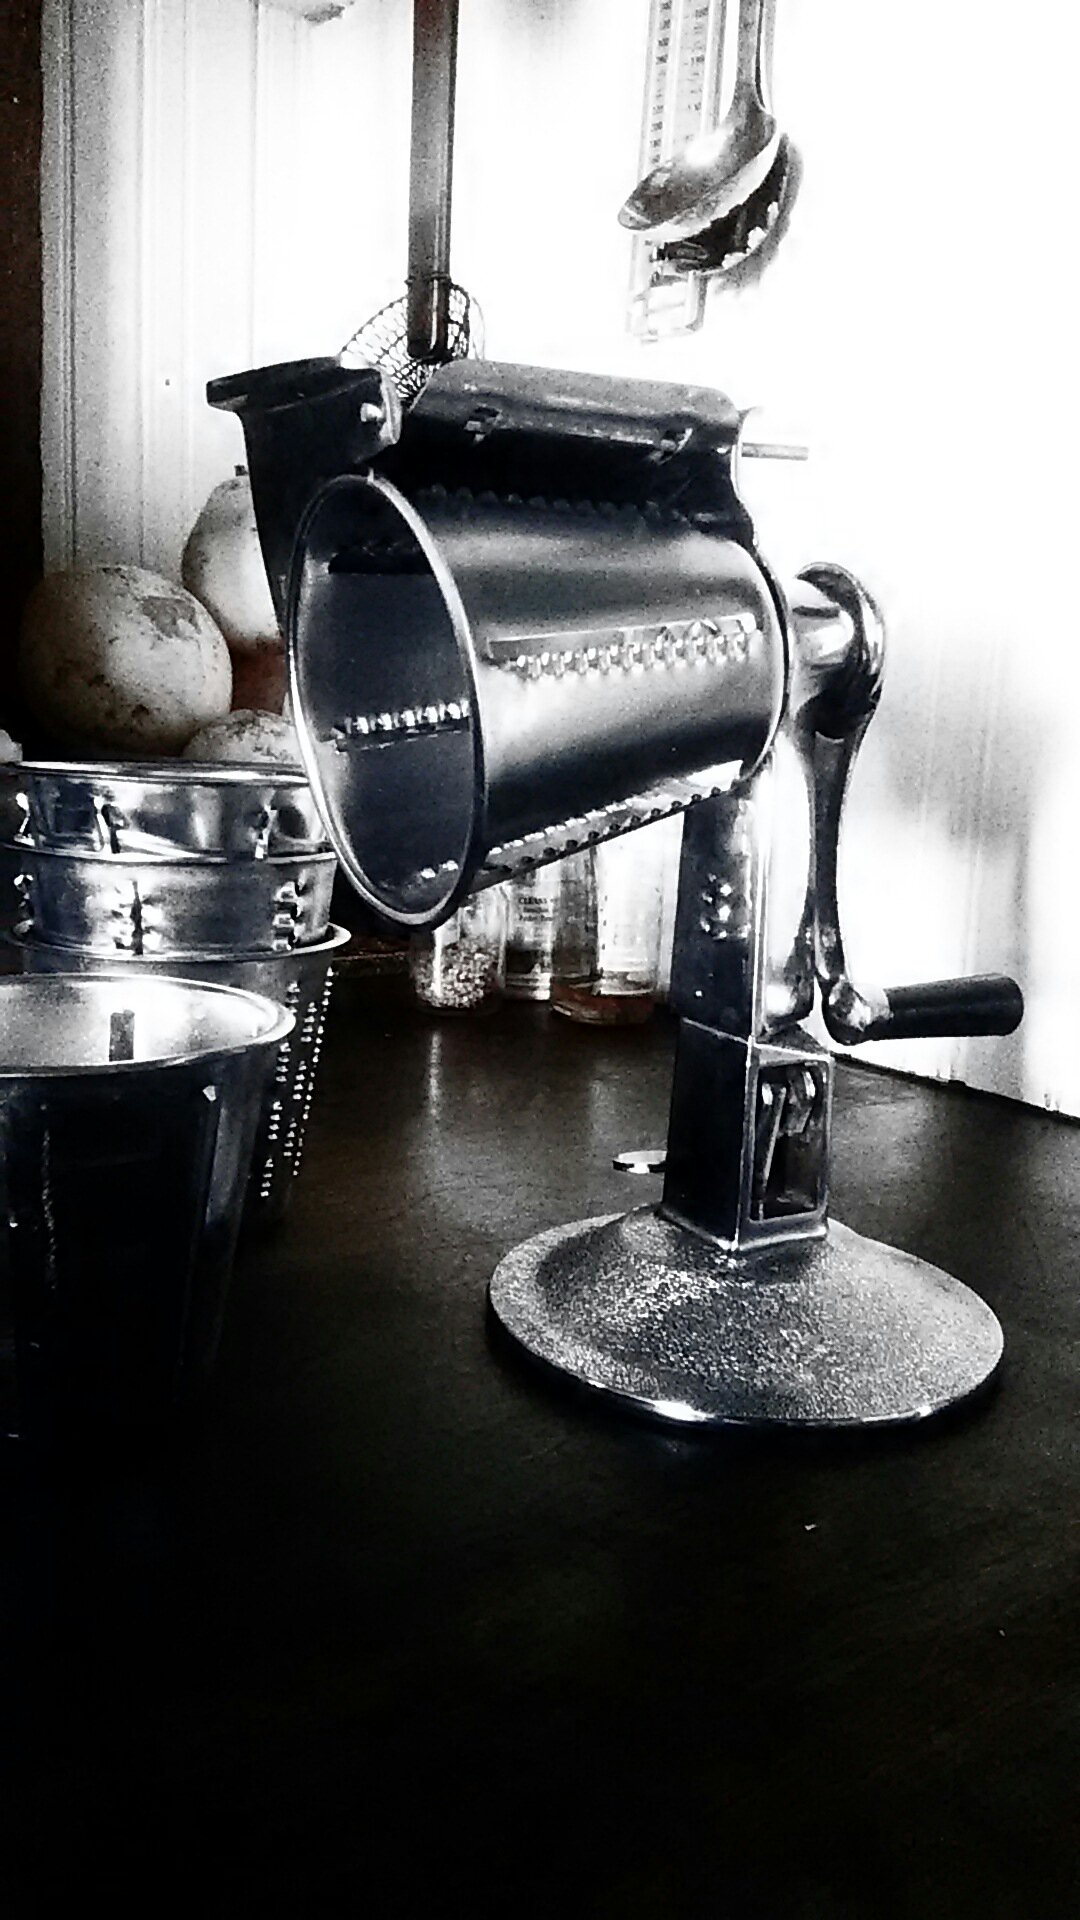
I got mine in expected vintage condition on eBay – $26 including shipping.
It worked well, but when I did a bit of cross-referencing on how to use it, it started working brilliantly.
I learned the techniques from videos on good ol’ YouTube – mainly ones by/in association with SaladMaster (whose name is on the modern-day standard of this machine).
I soon learned that you could get a free [brand new/non-vintage] processor of your own by hosting Saladmaster at your home for a food preparation party which includes a dinner at their expense. Sounds fun, right?
There’s always a hidden motive with these things, though. Or not so hidden.
The main function of the dinners are to get you to buy from their selection of very expensive ($thousands if you want full sets) “waterless” cookware.
I’ll not go into the details on how this brand of cookware itself is supposed to work, as it is open to some contention, but the concept had me immediately smitten. (If you know me, you’ll know how easily smitten I am with anything that is more economic than the norm’.)
You can watch videos on the www if you want to see the concept in action, just search “waterless cookware” or “cooking waterless”.
I started deliberating. IF (big, big, IF) I had a set of waterless cookware, how would it change my life?
Thing is, with my much-loved Chambers range (click to read about its rebirth if you missed that part of the HH and G journey), I can already cook very efficiently.
The ‘Thermowell’ (which has its own specifically designed set of inserting pots) allows me to cook rice to perfection, with no leftover water, using only 10 minutes of gas… and the oven allows me to bake fluffy potatoes using only 20 minutes of gas.
Both function this way because of superior insulation and ingenious design.
Of course, on the stove-top, insulation isn’t able to factor much.
The burner plates/covers are cast iron, so their heat retention is about as good as it gets.
You can heat your fat or water to cooking temperature on either a low heat or high – your choice.
Time really is the player here – and I’m fairly sure that your utility consumption will work out more or less the same in the long run.
The one thing that will change your utility consumption is how much fat or water you’re trying to heat.
More fat/water, more time taken to heat it – it’s a no-brainer.
I didn’t realize initially, but I’d been using “water-less” principles when I started using less water to cook my pasta some years ago.
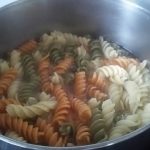
Generally, I add pasta to an inch or so below the boiling water line. (Picture below shows the contents of a 16oz box of pasta)
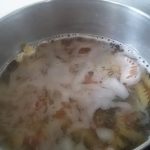
Pasta will quickly stick together during the first few minutes, so a few stirs are imperative – but after that point, not much stirring is needed.
At the end of this process, the excess (strained) water was less than 2 3/4 cups.

The water doesn’t get thrown away either – it makes for a fantastic sauce-thickener!!!
I made a fresh pesto to accompany the pasta, and rather than drowning the whole thing in excess oil to provide the additional moisture, I added the some of the cooking water until the desired consistency was reached.
In the end there was only a single measuring cup of excess water.
Not bad, really.
When I revisited this particular topic in my recent ‘waterless’ quest, I found the following article http://www.seriouseats.com/2010/05/how-to-cook-pasta-salt-water-boiling-tips-the-food-lab.html. It confirmed what I had discovered, but also provided additional insight as related to boiling times, and salt.
However, let’s forget the grains, and go to some basics.
Vegetables. This is where I’ve found waterless cooking to really come into its own.
Veggies are full of goodness. I don’t think many people argue that point.
As far as stove-top cooking goes, steamed veggies are generally considered to be the most nutritious, followed by boiled, followed by fried.
I’m sure that most people have an idea why, but steaming is better than boiling because you’re not letting any of your nutrients escape into the water that you then drain down the sink … and frying, well, the processed fats outweigh the the nutrients.
So why do we boil instead of steam?
Allow me to make it a personal question: Why did I boil instead of steam?
Two reasons – ‘steaming always seemed to take longer’ and ‘I didn’t (still don’t) have one of those steamer inserts for my pots’.
I’m going to cut straight to the point.
Steaming appears to be the fundamental concept of waterless cooking. (It’s more a case of ‘less water’ than it is ‘water-free’)
Waterless cooking is possible in a pot whose edges make full contact with its lid.
A small amount of water (just enough to cover the base of the pot) is heated (generally over a medium-low heat) to the point that steam is generated.
The heat is reduced to an optimally low temperature which maintains the production of steam without greatly increasing pressure in the pot (which would create bursts of steam to escape).
The contact between pot and lid prevents the steam from escaping.
The steam condenses on contact with the lid and drips back down into the pot.
As the veggies (I’m sticking with them for now) cook, they start to break down and release their own moisture into the pot – so even if you don’t have a however-many-hundred-dollar pot, and some of the steam from the water you added at the start escaped, it has been replenished by the water from the veggies themselves.
You stir the food in the pot a few times during the cooking process to ensure even cooking.
At the end, you’re left with only a minimal amount of moisture in the bottom (which is the delicious juice from your dinner, and should go on your plate, too)!
No water (or nutrients) down the drain.
I have found the cooking time is comparable to that of boiling. AND I end up using a fraction of gas because I’m heating a fraction of the water.
It’s a win-win.
Now – remember I wrote above that ‘waterless cooking is possible in a pot whose edges make full contact with its lid’?
I meant just that: ‘A pot’. ANY pot.
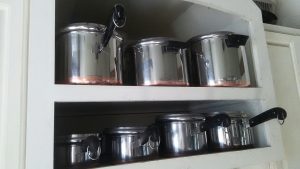
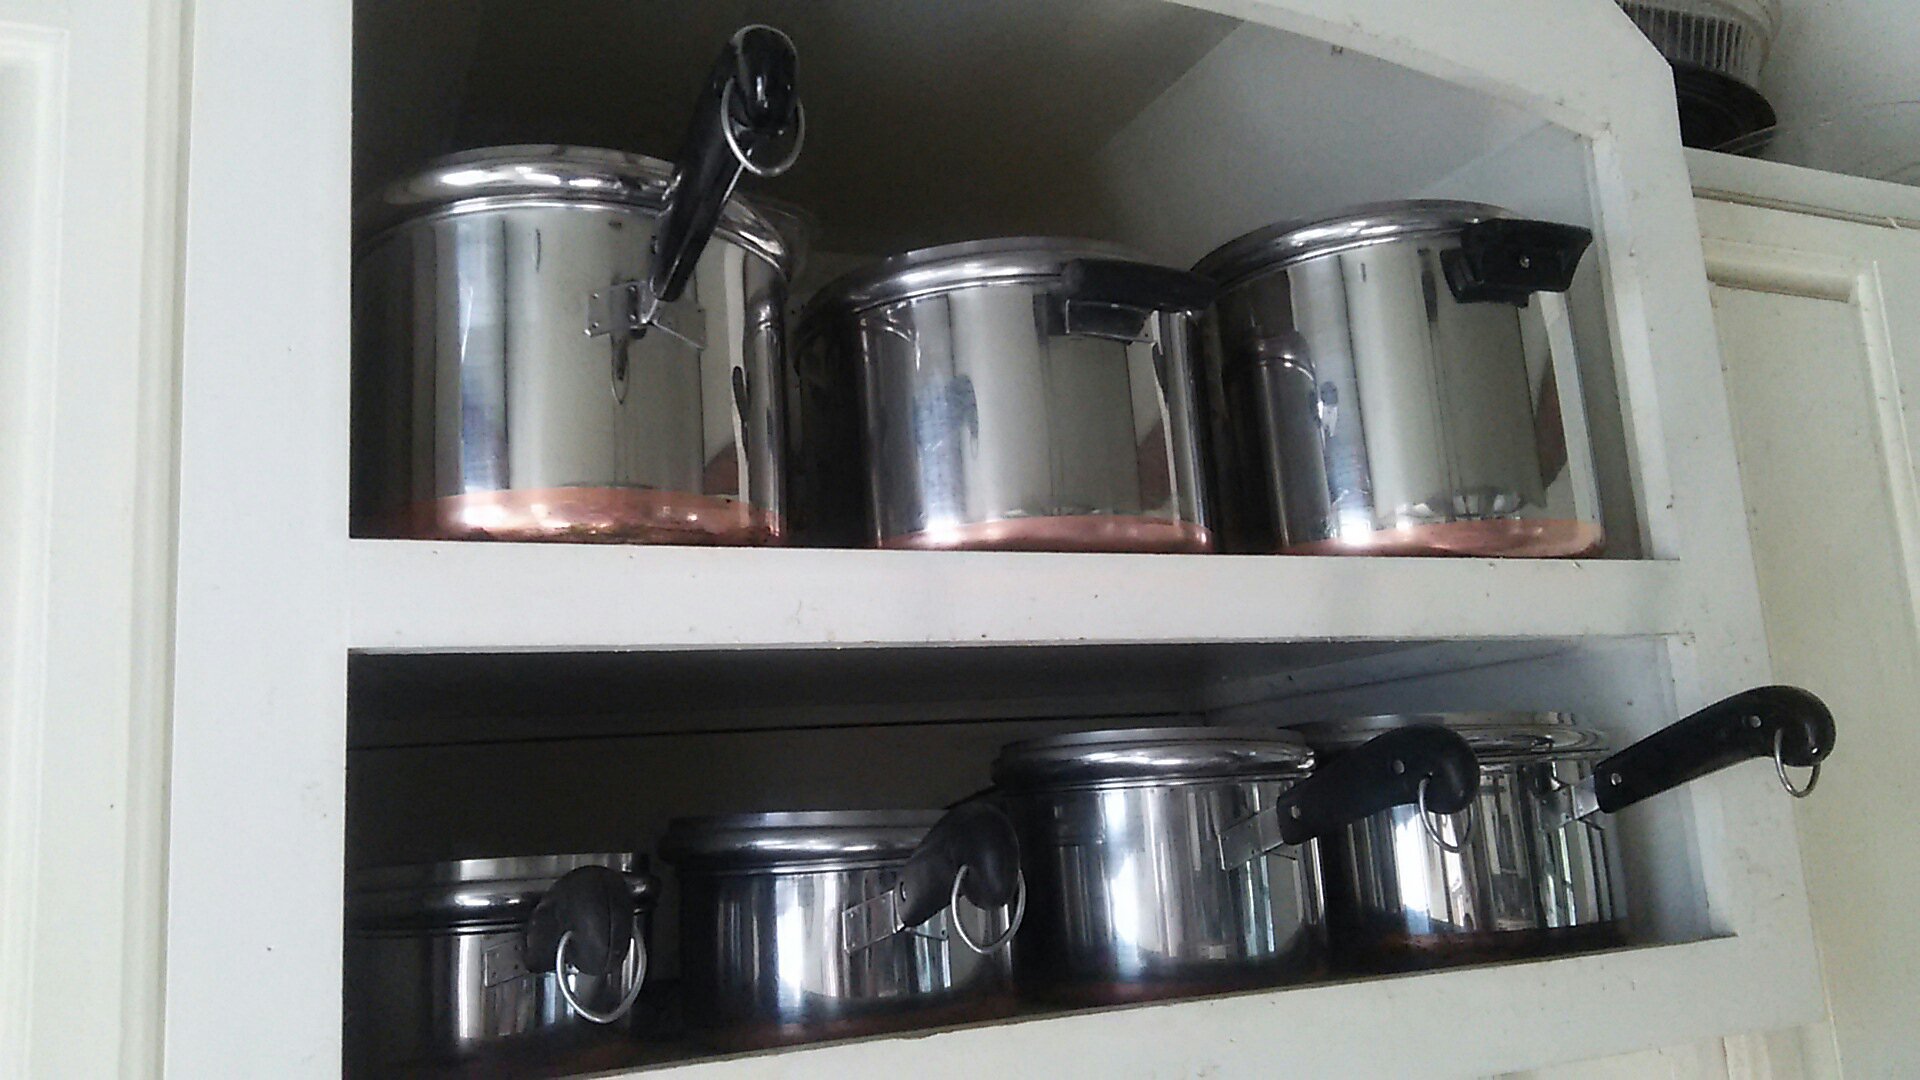
This is my set of vintage (pre-1968) Revere Ware copper-clad stainless pots.
They’re pretty, but there’s nothing especially fancy about them.
I’ve pieced together the set over 6 years or so for well under $100 – probably under $75.
But the lids fit snugly onto the pots and I can cook “waterless” using the above methods.
Case study: Boiled Eggs
For me, boiled eggs “waterless style” was to be the ultimate achievement.
If I could do that in my pans, then I could do anything.
I pulled up a video on YouTube where the presenter showed folding a paper towel square into quarters, getting it slightly wet, squeezing out the excess, and then placing it into the bottom of a saucepan.
She actually fit a full dozen eggs into the pot, but I wasn’t willing to potentially risk 12 – I only put in 5.
Heat was turned to medium – she (and I) used gas, so the indication for medium was the point where the flame was barely touching the bottom of the pot.
Her fancy pot boasted a built-in temperature indicator in the lid, and she advised to turn the heat down after it reached such-and-such a degree…
With mine, I simply waited until a puff of steam escaped when I removed the lid.
I turned the heat down and waited 10 minutes (the recommendations list 13-15 minutes for hard eggs, 7-8 minutes for medium eggs, and about 5-6 minutes for soft eggs).
She then removed the pot from the heat, filled it with water to cool down the eggs, and cracked one open.
Me? I just peeled one under running water, while I left the other 4 in the pot on the paper towel (which was still damp, by the way – there was a cloud of steam when I opened the lid).
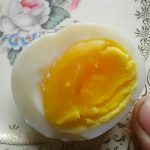
And there it was!
A delightfully medium-hard boiled egg 🙂
Go inspect your own cookware – try boiling a very small amount of water with the lid on, and see if any steam escapes – you might be able to use yours “waterless” too!