
“If you can move it out of the basement, it’s yours.”
Some of the my more interesting projects have started with that phrase … but WHY, OH WHY do people put these impossibly heavy objects in their basements, and how on earth do they get them down there? Are today’s lifters that much weaker than yesterday’s?
With a range, I suppose there is a logical explanation: canning.
People would do canning in their basements to cut down on heat in the house (not sure quite how that works out, as our cool basement helps to keep the upstairs floor cool, which at least helps keep bare feet cool).
I found a selection of related documents online … oh – hang on … let me back up.
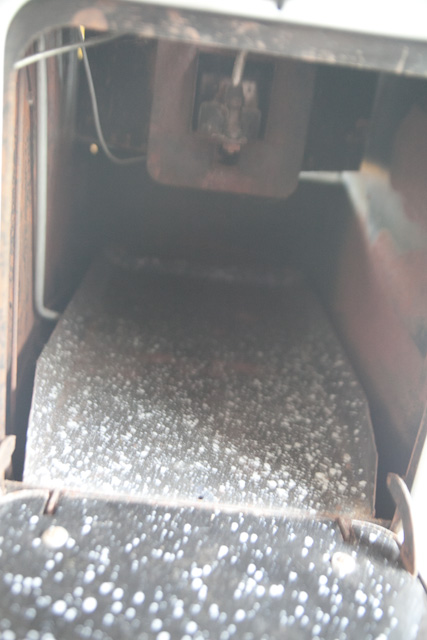
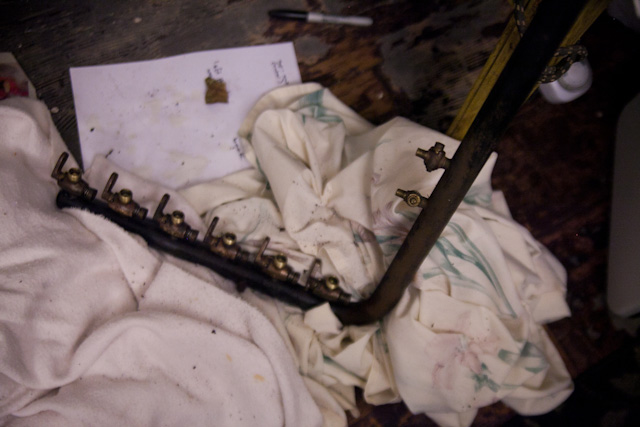
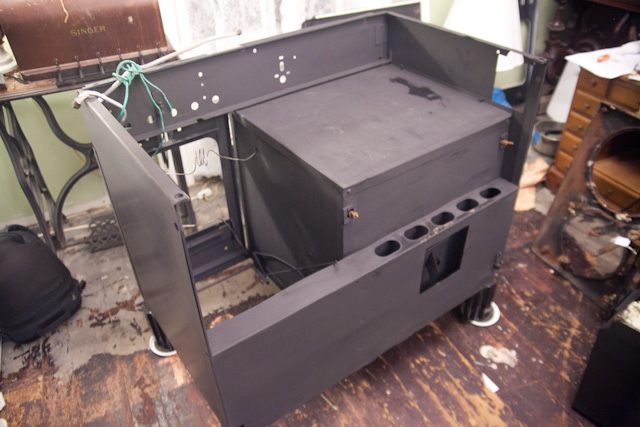
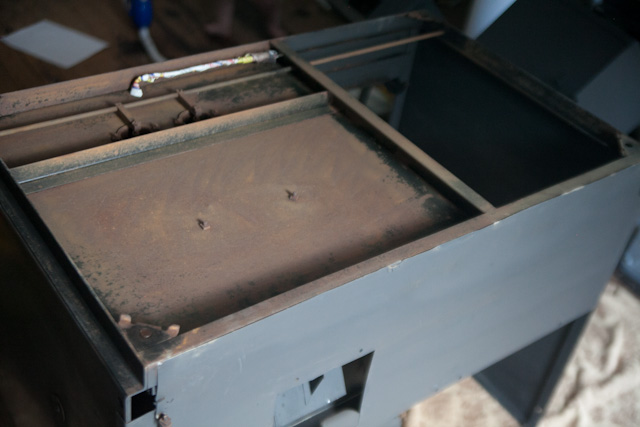
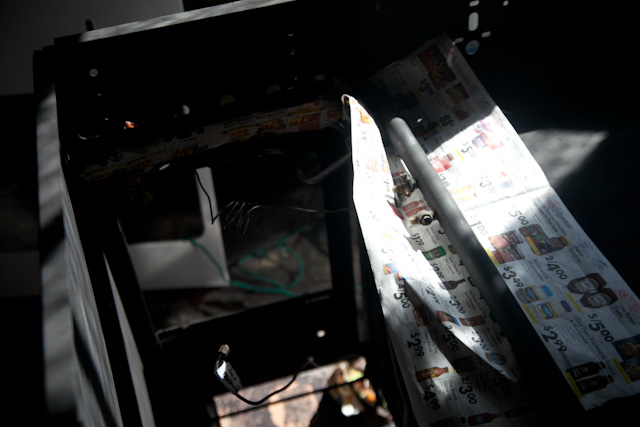
When I started taking the heavy bits out of the range, I found [some of] the original documentation, which would have accompanied this 450-odd-pound monstrosity, underneath of the broiler pan!
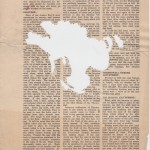
Unfortunately, two pages had been used by a visiting mouse for a more plush level of bedding.
One was a document that I’d already found online, but the other was the installation guide, which differs from the Model B guide which I’d found online. (Believe it or not, some of the screw locations differ quite vastly between the models).
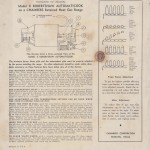
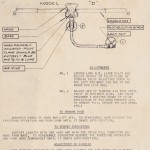
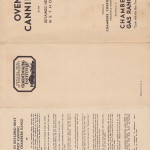
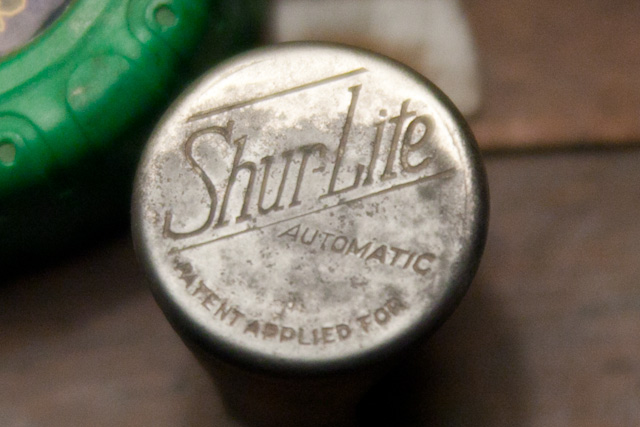
I also found two schematics which were not in any of the online documents (one for the Model X Robertshaw Automaticook (oven-related) and the other for the “Shur-Lite” automatic lighter (stove), along with an Oven Canning brochure which I had only seen online as a purchased item.
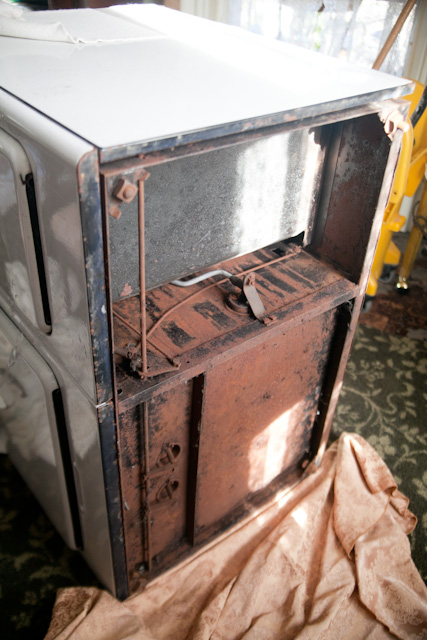
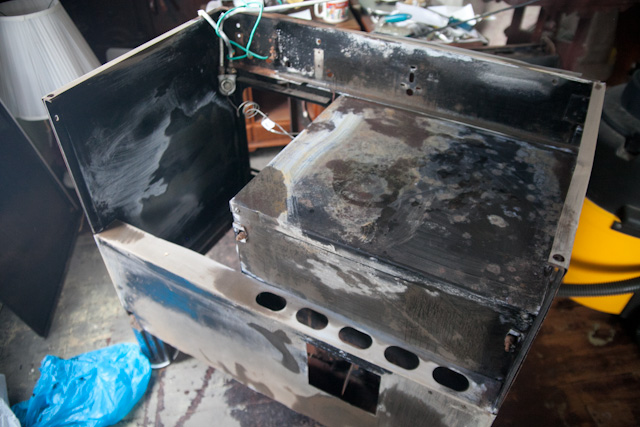
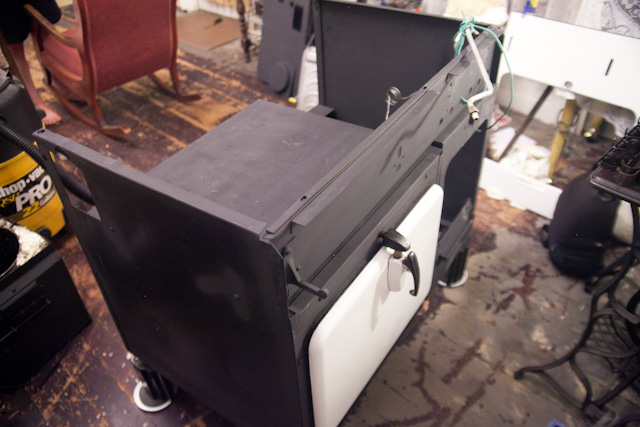
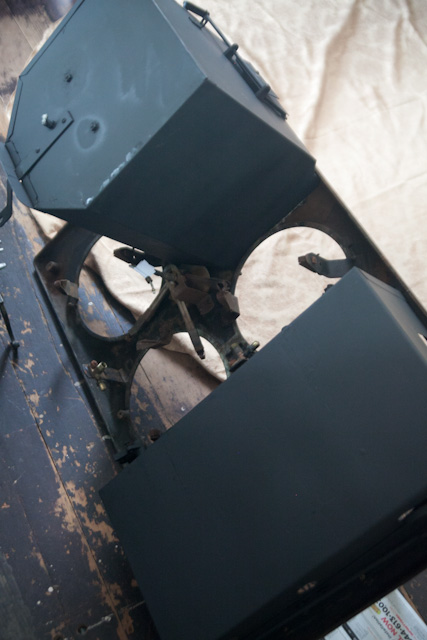
The biggest difficulty (and one which nearly had me abandoning my intentions to do a full strip/clean/paint job) was getting the disassembly correct: the order of removing panels/parts listed for the model B was not what ended up working for my model A.
Now I know, though.
Next time (should there ever be one), the job will be faster.
>>added 12-Nov-2018: gallery of paperwork received with the range<<

Now – back to the beginning:
I found several recommendations when searching “how to move a Chambers oven/stove/range”.
Due to the weight, it was recommended to remove as MUCH as possible. Parts were named, but no explanations were given.
A newcomer to the delights of Chambers (such as I) would have no clue as to what’s what, where it is, and how to remove it (despite the fact that some parts were insanely simple!
This is how we did it, with what we could have done in italics:
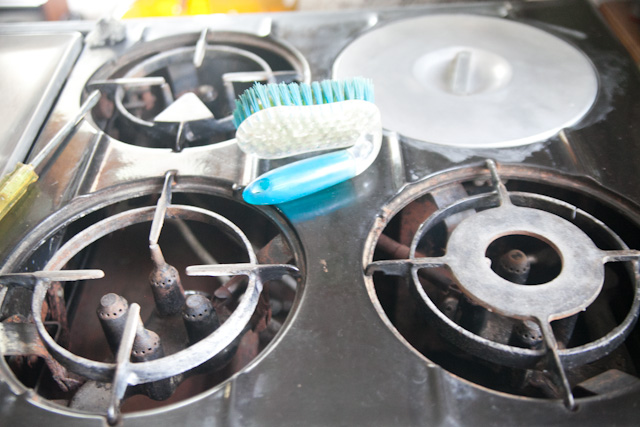
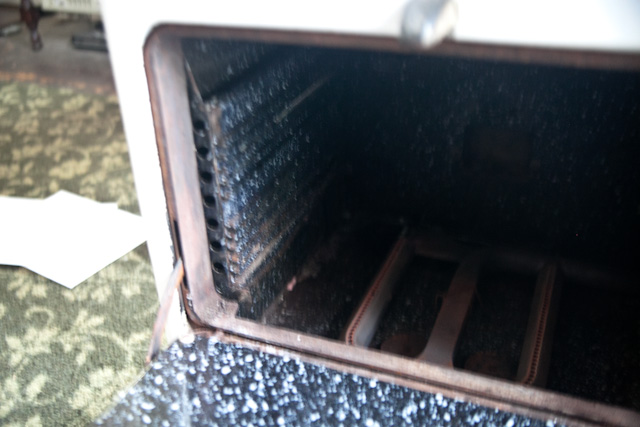
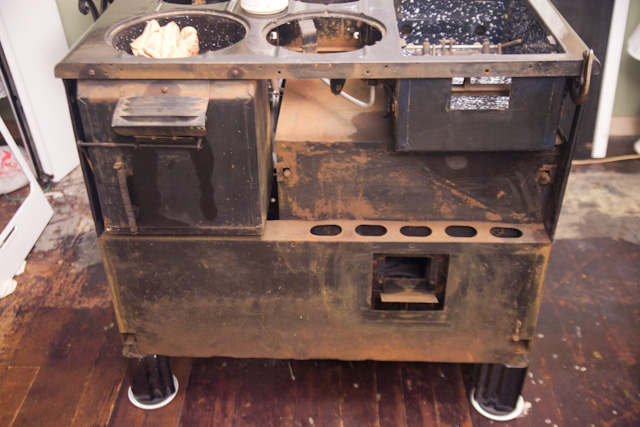
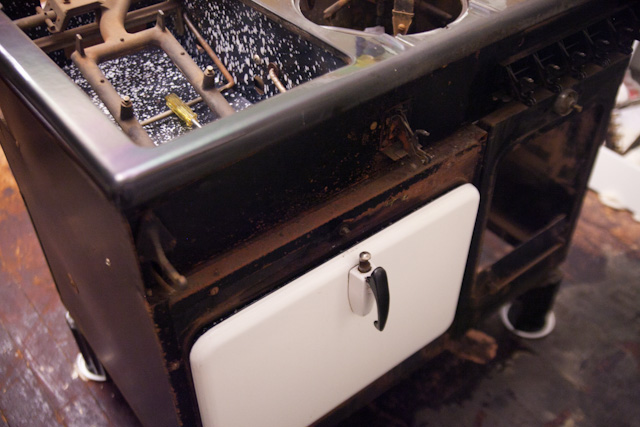
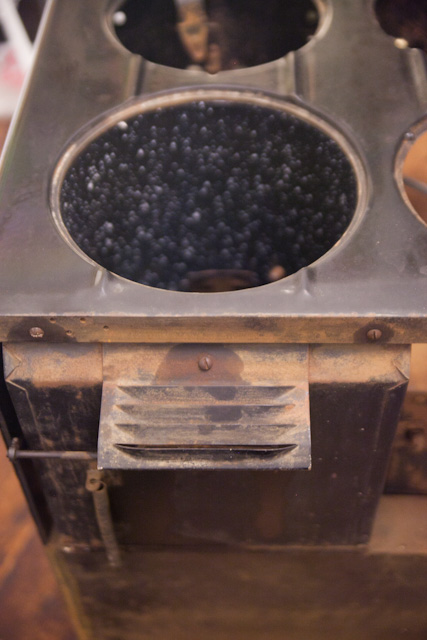
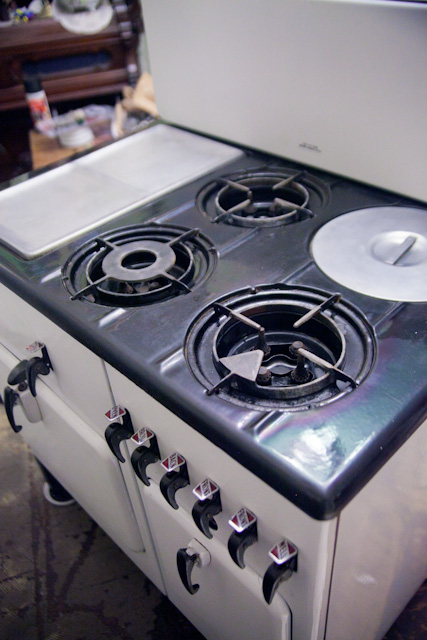
I removed the contents of the Thermowell (pans and grill), the oven grills, the stove top grills and drip pans.
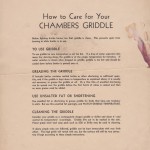
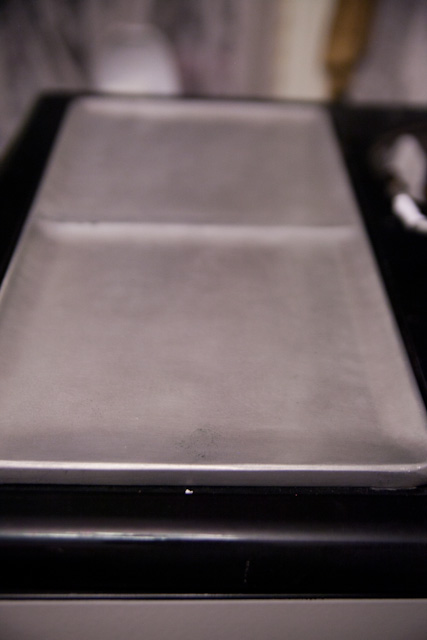
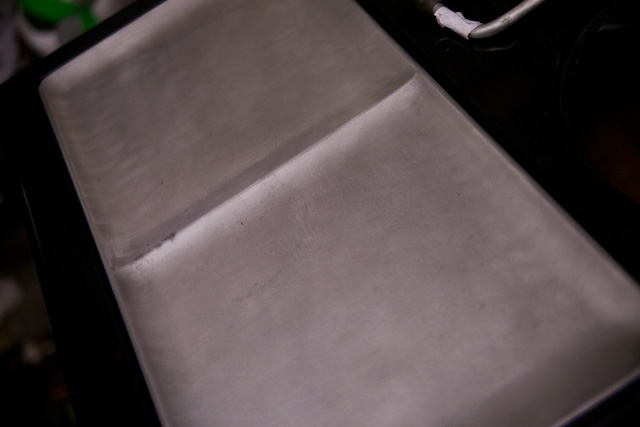
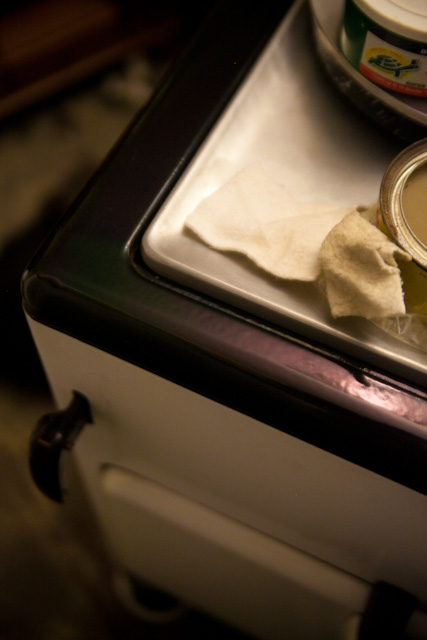
I also removed the broiler pan from under the griddle.
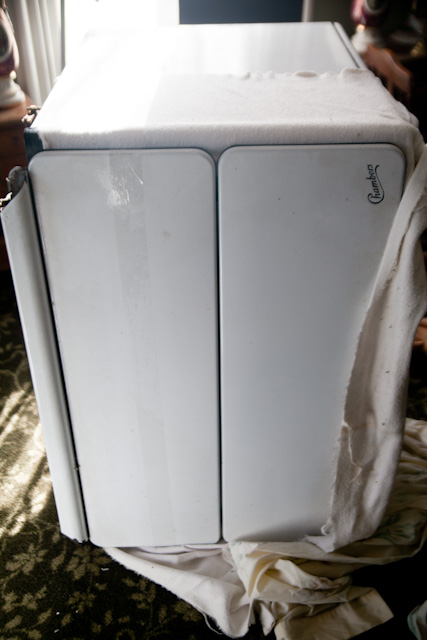
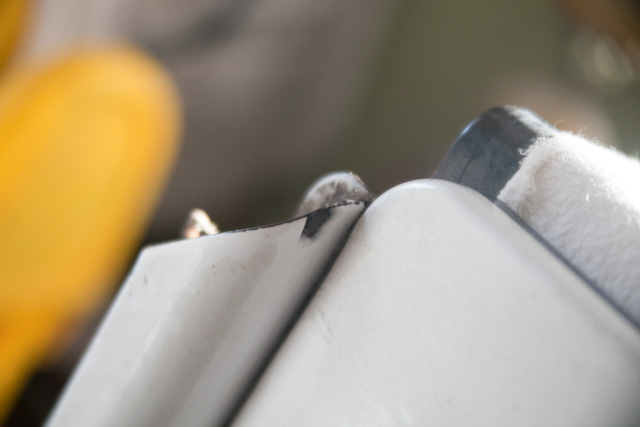
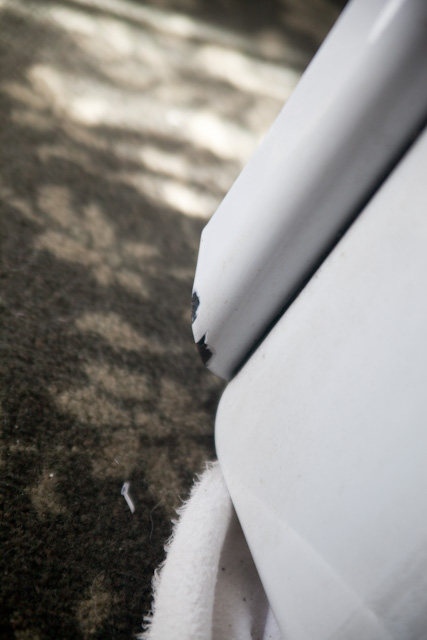
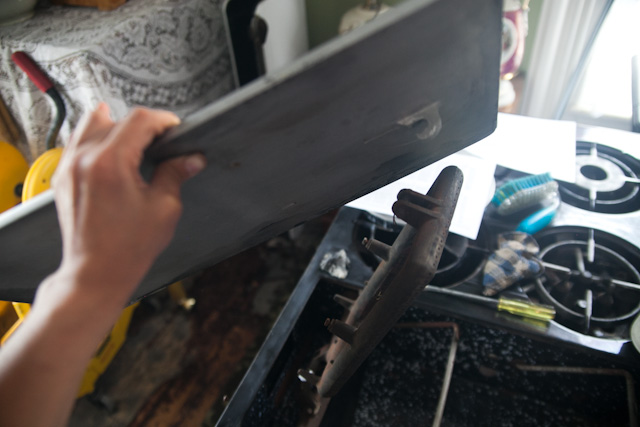
I put a piece of thicker brushed cotton (fleece or flannel will work ok too) across the top, and then taped (don’t scream!) from side to side – yes – onto the porcelain – across the fabric. This was to hold the griddle in place (and anything else that might try to pop out).
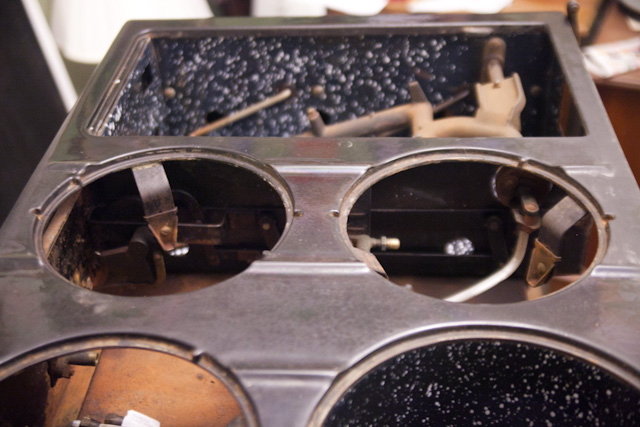
I now know how simple it is to remove the griddle. It is attached with a very simple “c hook” (not sure what the correct name is, but it’s a c-shaped chunk of aluminium which comes out from the base of the griddle, and fits around a cylindrical piece on the burner portion. The location of this coupling is at the front (handle-side).
So, if you lift the back side of the griddle and pull up slightly, it will pull the burner up with it.
Support the burner with one hand, and you can wiggle the griddle free.
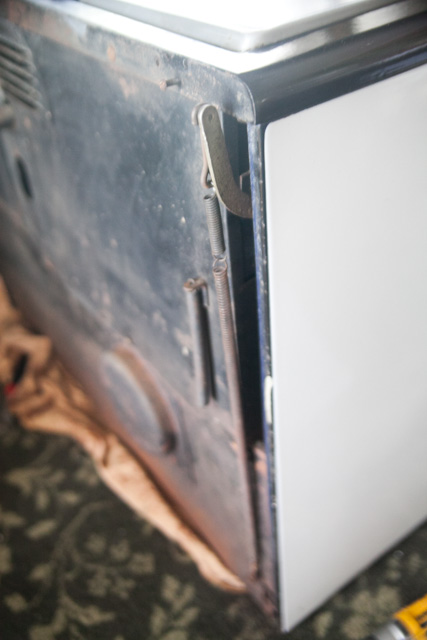
The burner is heavy!! If you’ve removed the spring on the back, take care to lower it carefully, otherwise it will drop into the broiler area.
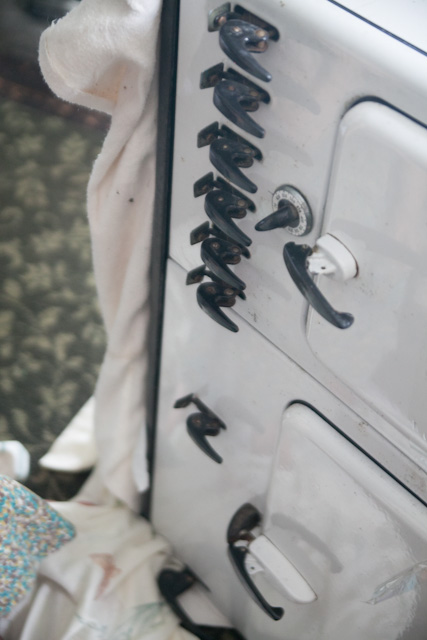
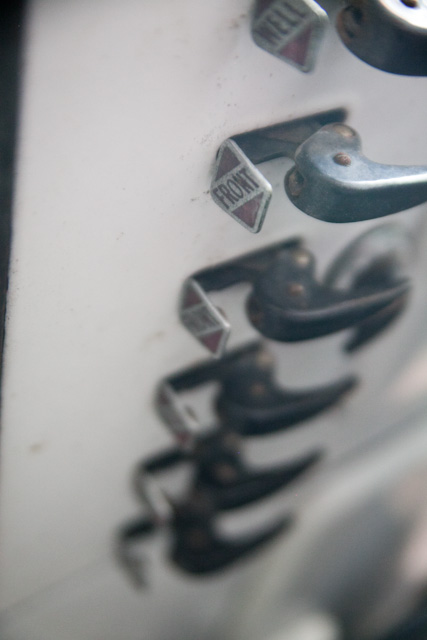
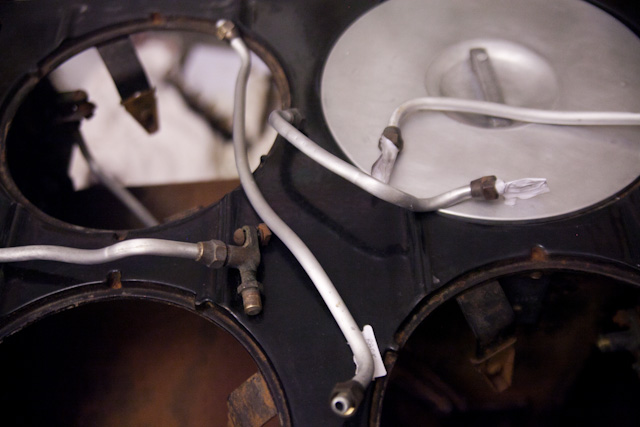
The back and front burners are identical. Effectively, they are an S-shaped, hollowed-out chunk of cast iron with a hole in one end which fits over the gas line (that’s the end that is more boxy in appearance).
They slot in place over a pair of screws, and are held there partly by the screw and partly by pressure.
You pretty much have to muscle them out – just try to be as careful as you can on the gas-fitting end. You don’t want to damage the gas line.
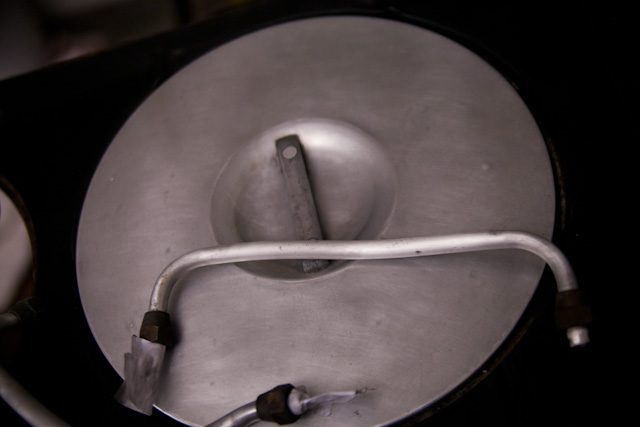
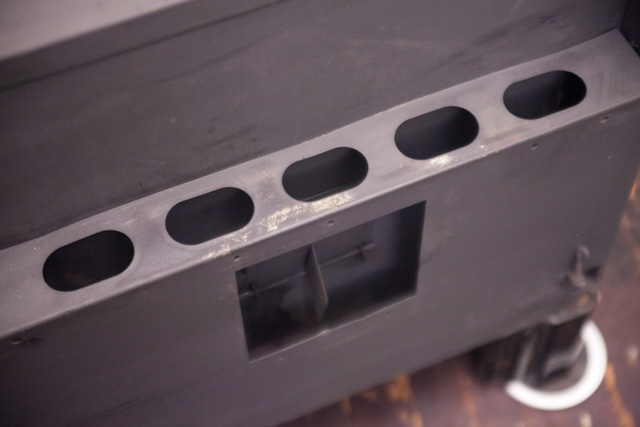
The Thermowell burner is somewhat more simple. If you lift up on the section in the middle of the Thermowell, it will unseat. It too has a box end which fits over the gas line, so lift that part off carefully.
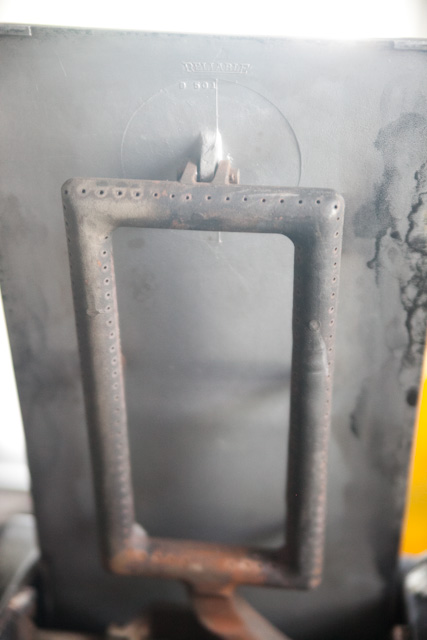
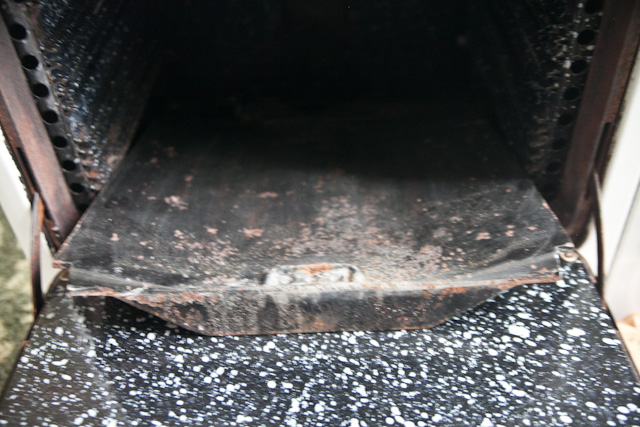
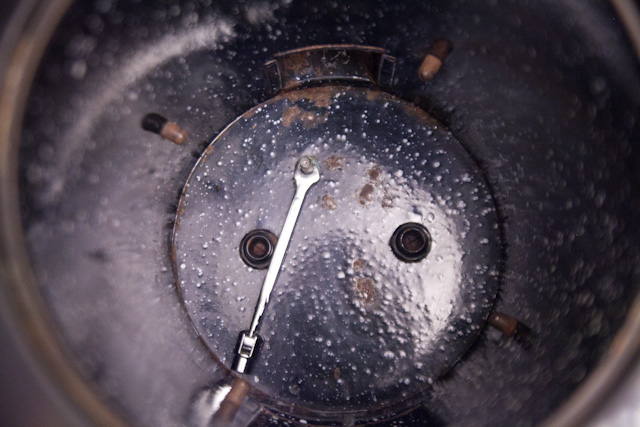
The “baffle plate” is in the oven.
It’s another chunk of cast iron, curved down in the center, which sits in the bottom of the oven. It’s held in place by gravity!!
It lifts up and slides out.
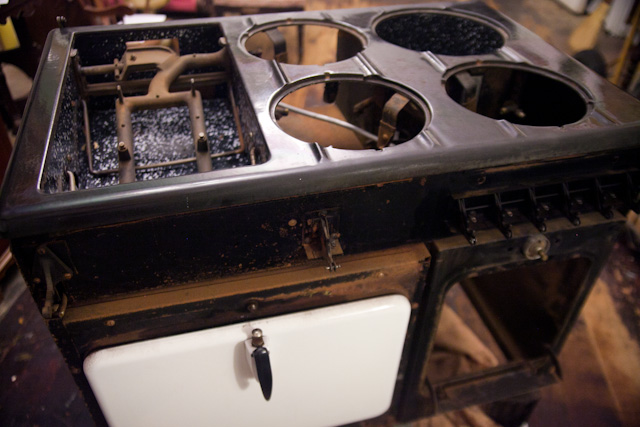
And that’s pretty much all of the easily-removed heavy stuff, which doesn’t require unscrewing.
I expect that these are the same for all models, though this project refers to a Model A.
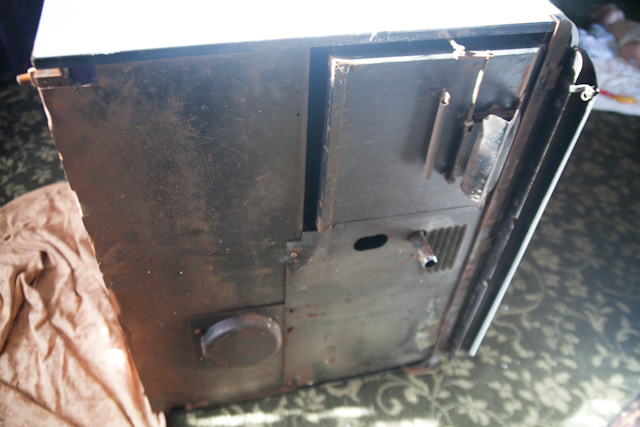
>>space here for “screws, nuts, and bolts: how it came apart and went back together”.<<
The unit was tested, and everything fired as well as could be hoped.
All of the burners need adjusting. At full gas, the flames are yellow. From what I’ve read, this indicates lack of oxygen.
Some of the holes on the burners didn’t have a flame, so I’m going to put the burners through the oven self-clean cycle to turn any residual gunk into dust.
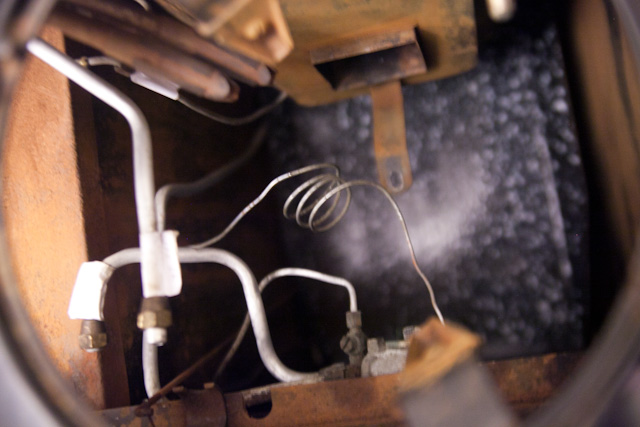
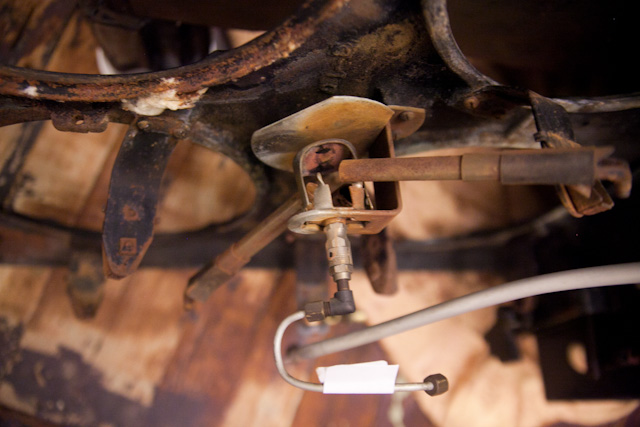
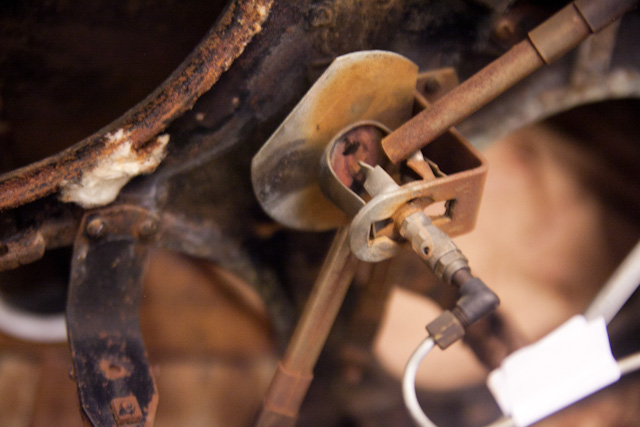
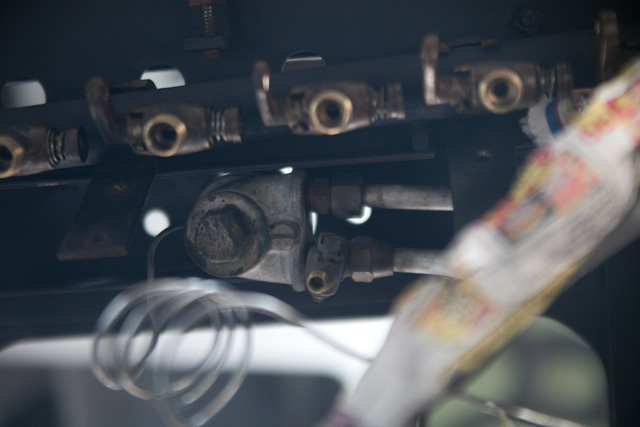
I did get some rogue flames on the pilot line…
… but this was because the lower nut had not been fully tightened (stems from before I owned the unit, as I didn’t disconnect this portion.
I took the opportunity to put some compound on the pipe thread, and that seemed to take care of the issue.
I didn’t see a flame in the air intake adjuster after that either (which I don’t fully understand, but oh well).
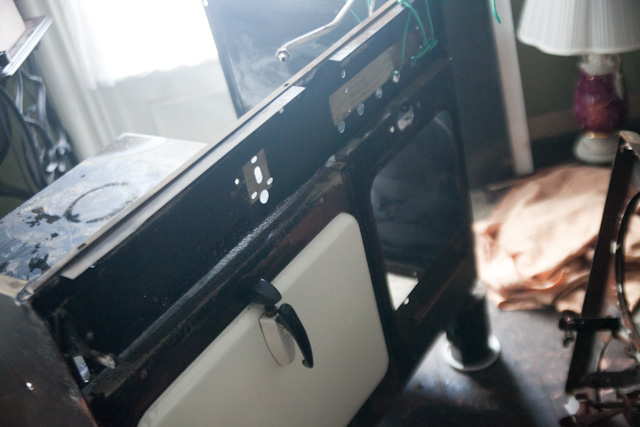
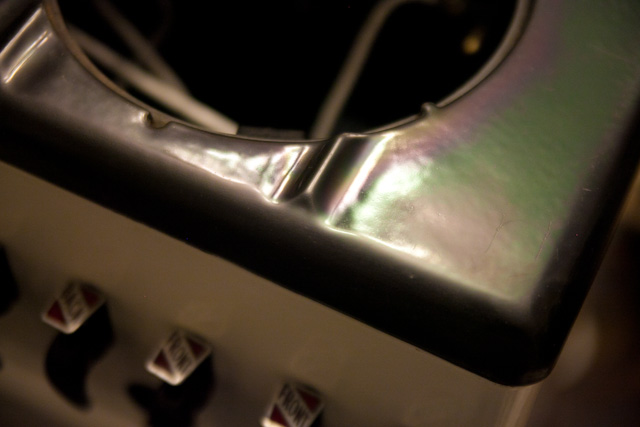
When I had removed the thermostat frontpiece, I did the ‘unthinkable’ and twisted the dial.
Reading the literature retroactively, it was recommended that you NEVER move the dial once removing the frontpiece. Oops.
It wasn’t as difficult to fix in the end as I’d thought.
I turned the dial clockwise all the way to the right (side-note … “righty-tighty, lefty-loosey”. Gas valves are on when you turn them counter/anti-clockwise (to the left …) and off when you turn the clockwise (to the right).) and then lit the gas.
The flames on the oven burner will flicker at minimum until the heat drops below whatever temperature you’ve set on the thermostat. Then, they’ll jump up until that temperature is reached … at which point they’ll drop again.
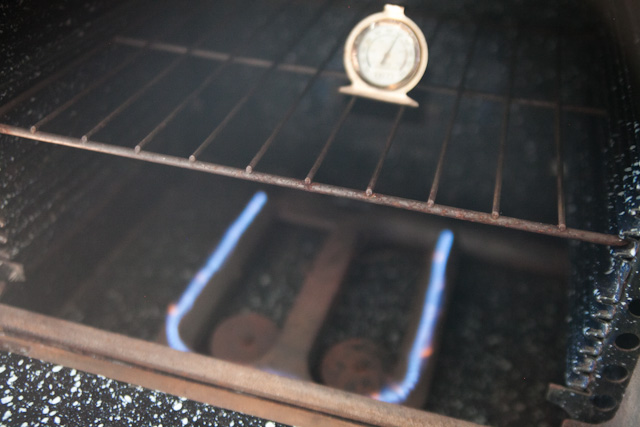
I put an oven thermometer on one of the racks, and turned the thermostat dial (without the frontpiece) to the left (anticlockwise) until the flames jumped into life.
I closed the door and left it for 10 minutes.
I took a reading from the thermometer, and then closed the door.
It registered 250F.
5 minutes later, I took another reading.
They were the same. This meant that the oven temperature had settled.
I put the frontpiece on the thermostat dial, so that 250 pointed to the arrow on the porcelain panel, and tightened the screw.
I turned the thermostat up to 300, and waited to repeat the reading process.
The thermometer and dial were off by a bit (maybe 10 degrees?), so I readjusted, and then turned up to 350 for another reading cycle.
That time, they matched.
After 15 minutes, I turned it up to 450, where it settled with a matching temperature on the thermometer and dial.
Et voila!
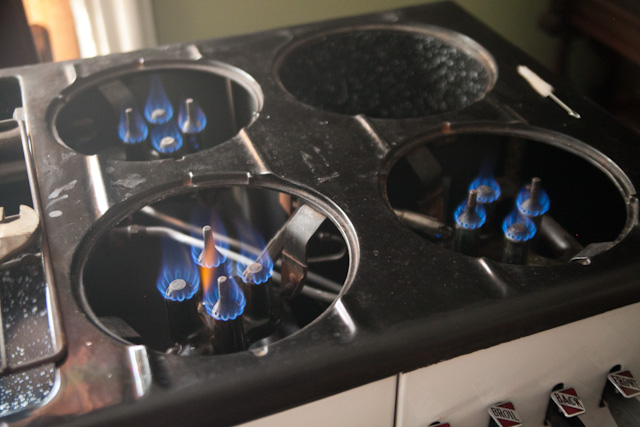
After putting the stove-top burners through the self-clean cycle on our other stove, there were flames from more ports on two of the three, but the third one was pretty abysmal – worse than before.
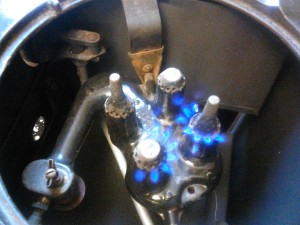
You see the flames missing entirely from one of the ‘posts’, and very sparse on the others.
That meant too much air was getting in.
If I closed the air adjuster fully – then I’d get full yellow flames (not good).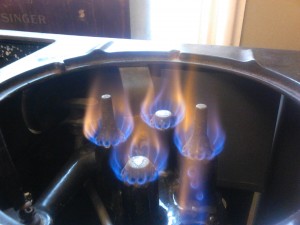
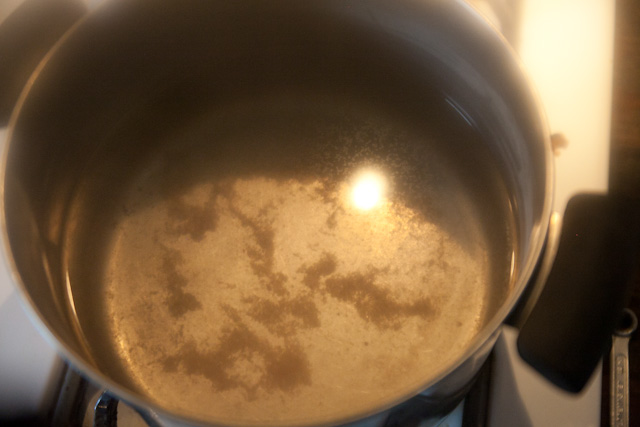
I consulted with the more experienced bodies over at http://chamberscommune.proboards.com/, and they suggested that I try boiling out the burners in washing soda (instructions were to boil 1/2c washing soda mixed in a stock pot of water with burners, let the burners soak for at least an hour, rinse, and then thoroughly dry in 350 oven.
DO NOT USE AN ALUMINIUM PAN!!!!!!!!
The washing soda reacts with the aluminium. I was thankful that I had the extractor on, and that we went shopping while the burners were soaking. Hydrogen gas can be given off, apparently!!
Very sadly, the pan (my vintage pressure canner; the only large pan I’d brought up from the basement yet) suffered quite badly. A layer of aluminium was stripped off the lower sides, and the bottom is horribly rough now.
I really don’t think I’d risk pressure canning in it any more just in case a weakness somewhere in the bottom were to cause the whole thing to explode.
Sigh.

Then – to make matters worse – the burners looked awful!!!

You can see where the soda had the most effect.
I looked up what would react with calcium carbonate (aka washing soda / CaCO3) and came across Sodium Hydroxide (aka lye / NaOH).
I figured I had nothing to lose in trying to soak the burners in a hot weak solution (as a soap maker, I have that stuff on-hand).

There was quite a lot of scum that built up on the surface, and a precipitate was quite evident at the end.
I treated the burners as cast-iron pans subsequently, spread a layer of oil on them, and baked them.
They came out looking MUCH better.
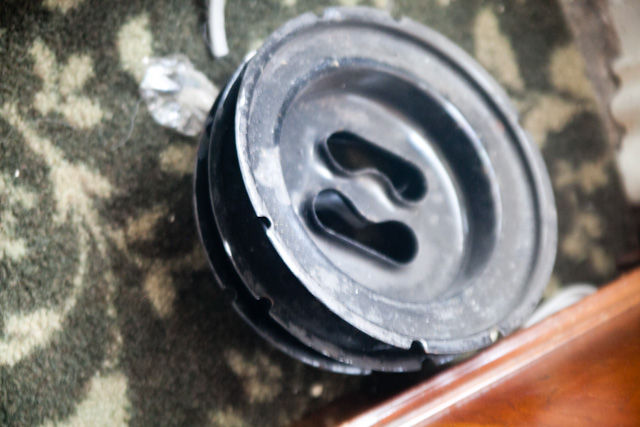
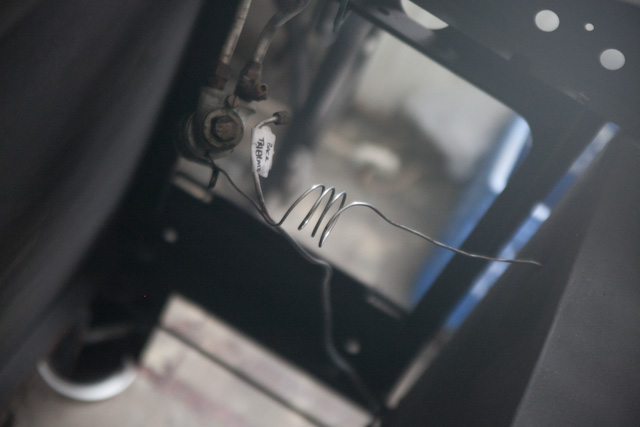
I also found the rattle culprit.

It resembled a nail without a head, and fit the burner ports perfectly.
My guess is that someone tried to clean the heads, and lost this bit inside.
I decided to record a video while adjusting the burners, to help anyone else who might be in a similar predicament.
It’s slow-moving, but informative (which was the intent).
The resulting flame can be altered by adjustment in three places:
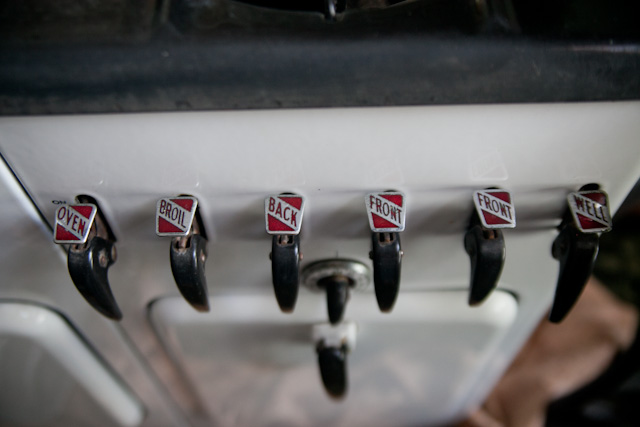
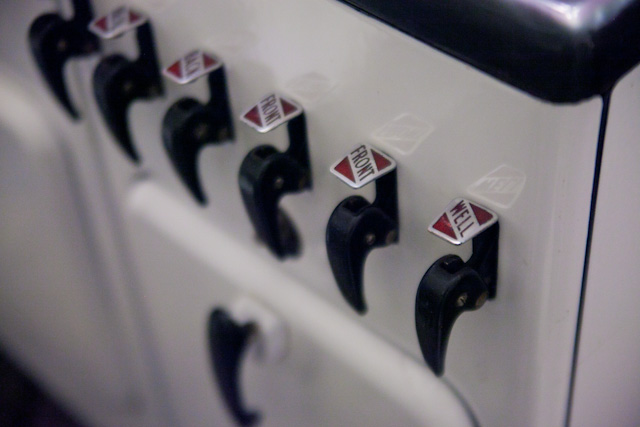
- gas lever at the front of the stove
- air intake at the back of the burner
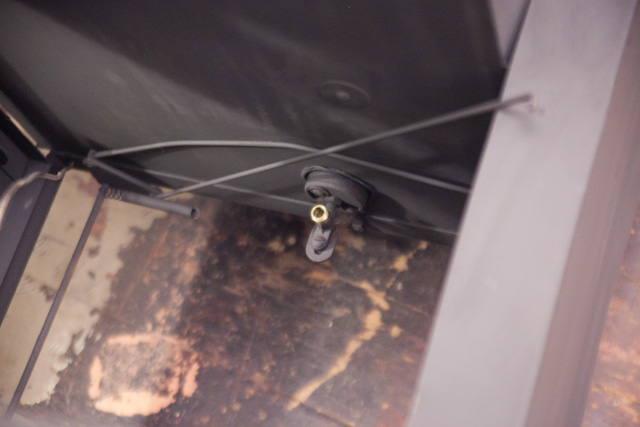
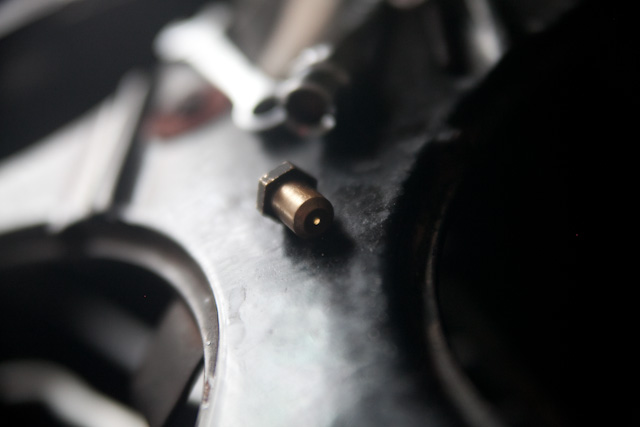
- gas nipple/nozzle [correct name: orifice cap / gas adjustment cap] at the end of the line (this is what the burner fits over)
When my gas levers were up all of the way, the flames were high and yellow.
Reducing the gas, resulted in a much better flame with no yellowing, so I permanently fixed this by tightening the orifice caps.
The sparse flames from the ports were corrected by reducing the air intake openings.
This was the end of adjustments round one.
On full gas at the front of the range, the flames were around half of the previous size.
More adjusting is needed, but that will probably be done when the stove in situated in the kitchen.
The Thermowell was relatively easy to adjust (now that I have a better idea of what I’m doing) – it was just a case of tightening the orifice cap, as the flame was too intense at full gas.
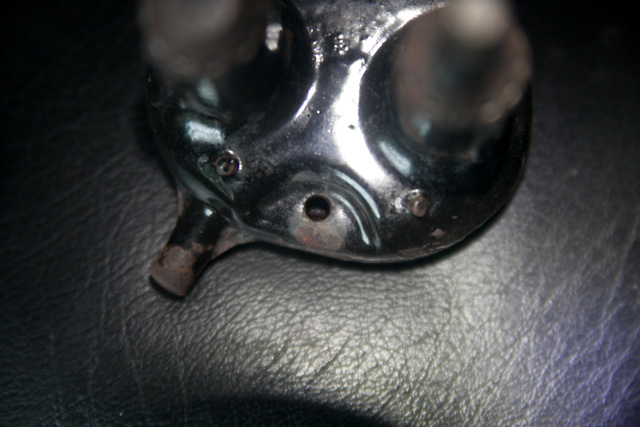
The broiler and oven both have a similar interface: the “mixing pin”.
The mixing pin comprises an orifice cap and an air shutter.
The air shutter becomes movable once the screw is loosened.
A simple as this sounds, however, it was a real pain.
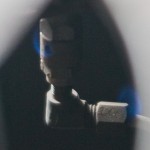
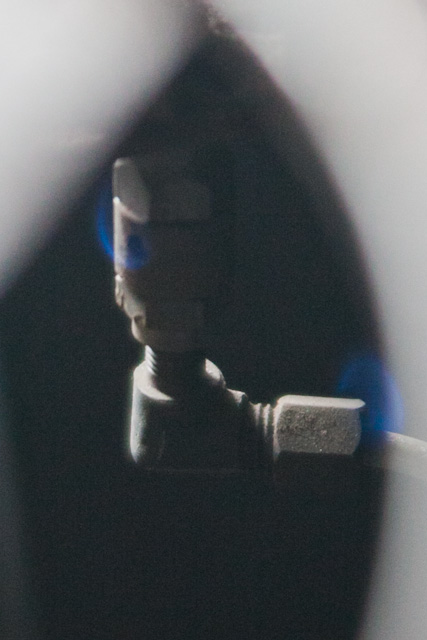
The broiler was especially difficult – partially due, I believe, to the fact that the flames actually exit on the undersides of the burner, so it was very very difficult to gauge how long and of what quality they really were.
Lights off!!! (Darkness helped considerably)
The range is more or less tuned up now.
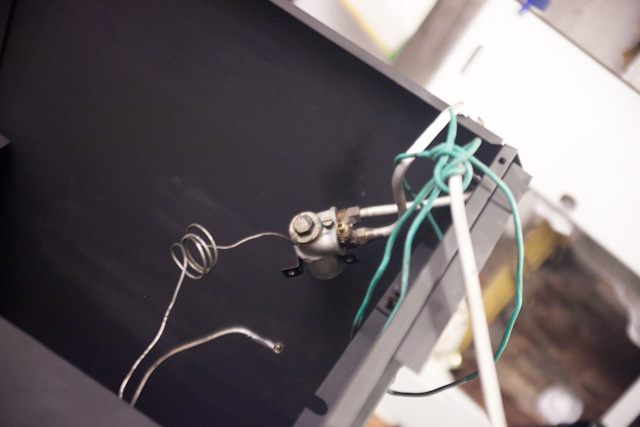
Hubby needs to get me a new compression fitting for the very small section of aluminium tubing that broke off from behind the thermostat (there’s enough tubing still there to make a connection), as I’ll not have a pilot until then.
The ‘cooking with the gas turned off’ concept seems to rather rely on the top-up heat from the pilots.
The gas is as good as off, I suppose.
IDEAL FLAME HEIGHTS:
cones should be “soft” – or to use Chambers’ other words, “clear cones, but not too sharp”
Top Burner Pilot: 1/2″, Blue
Top Burners: 3/8″, Blue
Oven Pilot: 1/2″, Yellow (adjusted at the small brass valve at the inlet fitting of the thermostat)
Oven Independent Pilot: 3/4″, Yellow
Oven Burner (heating): 3/4″, Blue (test at 350F)
Oven Burner (residual): 1/8″, Blue (test at 70F after testing heating)
Broiler: 3/4″ (model B) 3/8″ (model BZ), Blue


And finally, here’s are some high-resolution digitized images (png) of various Chambers-related logos.


WOW! what a journey from abandoned basement to home kitchen. I can’t wait to sample the baked ‘whatevers’ emerging from the oven. What an amazing project. ‘Jolly well done’ and all that ….. LOL!
Hello,
I can’t see any of your pictures. Are they still available?
Oh my goodness, Danielle! Thank you so much for alerting me to this issue.
I believe that the pictures are showing now.
Thanks again!! Rebekah.
Hi, I have just “received” a Chambers Model A stove but am having trouble finding a manual for it. I am wondering if you would be willing to make a copy of yours and any other pertinent papers you may have. i would be willing to pay for it. Thank you!
Greetings, Lynn.
I apologize for the delay in replying.
Are you able to print out from a pdf?
I’d be happy to upload my pdfs for you, but I don’t feel comfortable listing the links publicly (I know at least one person sells a set of documents for around $50!!).
Shoot me an email if you’d like the pdfs.
rebekah(at symbol)hhandg(dot)com
All the best!!
Rebekah.
Thank you so much for posting this! I’ve been looking everywhere but it’s hard to find information and pictures of restoration for the model A.
Mine arrived 2 days ago and definitely needs some work before it can be used (it also has spent who knows how many years in someone ‘s basement).
Do you mind if I ask what you were using for rust remover and reblacking? And did you redo the cooktop itself too? I have a very worn spot on mine right in the middle and I’m debating how (or if) to address it.
You made it look so easy and straightforward. Tell me you’ve rebuilt stoves before?
Greetings, Brynn.
Had I previously replied directly to you via email? I remember your message coming through and thought I had replied, but I see nothing here.
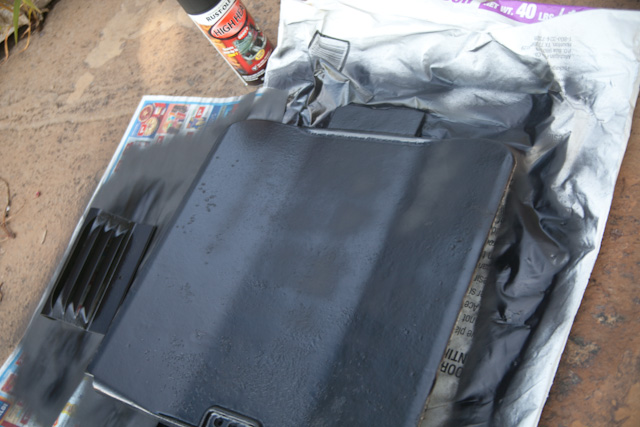
In any case, I used “Navel Jelly” (phosphoric acid) for the rust remover, and a heat-tolerance vehicle engine matte black spray paint for the internals.
I left the cooktop alone, but have since cleaned/polished it a couple of times with car wax.
Hi, you did a wonderful job with the restoration and detailing your adventure. I have just recently found a Chambers Model A stove but am having trouble finding a manual for it. I of course found the manual for model B which says it’s works for A, but I am wondering if you would be willing to make a copy of information/manual and any other pertinent papers you may have. I will be willing to pay for the information. I’m just hoping to get this 400 pound monster up and running. Thank you so much for your time and effort.
Hello Leslie.
Please bear in mind that the documentation I received had been used for mouse bedding.
Nevertheless, I’ve added a small group of photos of this documentation to the original post.
Hopefully you’ll be able to view it satisfactorily.
All the best!
Thanks for this. It is amazing. I have a 21 AV 22, and really have no place to start in terms of service manuals. I have seen that the model B and C manuals are available for purchase, but it looks like your model is more similar to mine than the model B or C. Do you know where I could get my hands on some of the paperwork that you have for your model?
Hi, Jeffrey
I don’t know where anything is available online for the Model A.
Here are the two free pdfs that I had found, which is what I used.
http://hilda.hhandg.com/wp-content/uploads/2017/10/B-BZ-ServiceManual.pdf
http://hilda.hhandg.com/wp-content/uploads/2017/10/B-InstallationGuide.pdf
Let me know if you have any questions!
All the best,
Rebekah.