“If you can move it out of the basement, it’s yours.”
Some of the my more interesting projects have started with that phrase … but WHY, OH WHY do people put these impossibly heavy objects in their basements, and how on earth do they get them down there? Are today’s lifters that much weaker than yesterday’s?
With a range, I suppose there is a logical explanation: canning.
People would do canning in their basements to cut down on heat in the house (not sure quite how that works out, as our cool basement helps to keep the upstairs floor cool, which at least helps keep bare feet cool). Continue reading “Revival of a 1936 Chambers Model A Range (Style No. 11-A-22)”
I’m not sure what got me onto the subject, but I’m all about snoods right now.
A snood is a pretty hairnet/hairbag of sorts.
They can be knitted, crocheted, tatted, solid, open, netted … with or without ribbons …
I love all [well, most] things vintage, so figured that I’d collect some of the free instructions for vintage snoods.
They will all be crochet instructions, and I will reference the site from which they were taken.
Why am I pasting the information here? Just in case the sites from which I’ve copied them cease to exist.
You know how it is…
We get an idea, and rush full-speed into making it a reality.
This basement project has been no different.
After trying to pick and choose bits and bobs from various of the inspiration photos in part 1, I decided to start simple.
We marked out a chalk-line perimeter on the floor, I choose a suitable blue, Frank bought wood studs, and it all began.
I think the photos are pretty self-explanatory.
We’ll be picking up the sheets of ply tonight, and hopefully we should be 80% done in time for laundry day on Saturday 🙂
The million dollar question: How do you turn a dark, dank, dreary dungeon-like 1870s basement laundry area, with a mere 6′ from floor to ceiling joists, into something worthy of your brightest whites?
I learned in the last week that is is possible to do embroidery and lace work on old vintage / antique Singer Sewing Machines!
You can either disengage the ‘dogs’ (the teeth on the base of the sewing miachine which raise to grip and push the fabric through) or, you can cover them with a plate.
In order to freely move the fabric around, you do not use a presser foot. However, as the fabric will be pulled upwards as the needle returns to the top, the fabric is best held taut with an embroidery hoop.
I found someone on e-bay selling a CD with instructions on embroidery … and I found a ‘hard copy’ book on amazon … but then my money-saving mind went to work, and I found what appears to be the same thing for free on www.archive.org (I love that site 🙂 )
Shaded Embroidery ( Flowers )
Art Embroidery
Raised Embroidery
Scallops, Beadstitch. Cording
Venetian Embroidery
Seed Stitch
English or Eyelet Embroidery
Shaded Embroidery on \’elvet or Plush
Gold Thread Embroidery
First Openwork Stitches
Filet, Netting or Open Mesh Embroidery
Hedebo Embroidery
Richelieu Lace
Point Lace
Renaissance Lace
English Point
Duchess Lace
Brussels Lace
Novelty Lace
Point Lace
Cluny Lace
Hemstitching
Mexican Drawn-Work
Mexican Drawn-Work ( Second Part )
Teneriffe Wheels
Velvet Applique
Net Applique
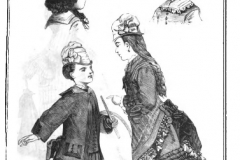
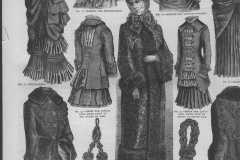
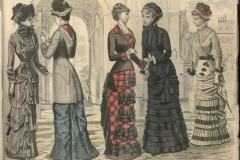
I own pretty much all of the patterns on the above pages – well at least as of the time that I’m writing this – and I’m finally thinking about starting on my collection of Victorian-wear
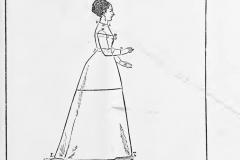
While I was swotting up on Victorian petticoats (a must), I came across the text below, which I just had to include:
A woman of ‘quality’ was expected to look as though she didn’t do anything except needlework and wait for her man. When in reality, she worked as hard as any field hand!! She had to be able to run a household of many members so seamlessly that no-one knew she was doing it. She also had to manage accounts, schedule and plan for supplies and deliveries and meals, not to mention parties, balls, etc. She also had children (whether her own, the children of the household or family) to look after, and she was expected to be the first to administer medical care in times of illness and injury.
But!!
She was never to be seen doing any of these things!! She was the force behind the scenes. The quiet voice of reason, the iron rod of discipline, the keeper of the purse, the manager of the staff. To any who might see her, she was the languid, helpless, softly, feminine flower of the south.
She had white, soft skin. Glossy hair, and bright, shining eyes. She never raised her voice and she was never in a hurry. If you listen to older ladies from the south, you’ll find they speak, softly, and with a gentle, measured cadence.
Here’s a link that’s inspired me somewhat.
http://www.lady-faire.com/petticoat.html
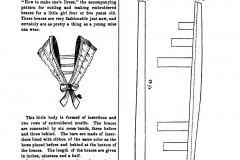
My first petticoat, however, is going to be pretty simple.
I’m taking some flexible branches from the lilac bush outside, and will bend them into circles, bound with florist’s tape, to ensure that the largest hoop will fit through the doorways in our house!!
I’ll then have some removable rings of tulle to add body to the hoop skirt / petticoat.
Frank told me that he’d bought me a surprise (of course, the give-away post title has already spoiled it for you!).
I walked into the kitchen after work to find this.
It didn’t work.
There are no maker’s marks on the unit; no lable to indicate which of the brands this is.
There was a velvet record cleaner in the case with the ‘His Master’s Voice’ logo on it, and a case for needles with “Brunswick” written on the lid.
Frank and I, people that we are, dove inside to take a look at the mechanics and work out why it wasn’t working.
It is powered by a hand-crank dual-spring OKEH motor. (Yes, it is pronounced “okay”, but is in actuality the initials for Otto K. E. Heinemann (1877–1965), a German-American manager for the U.S. branch of German-owned Odeon Records.)
I took off the top of the cast housing, at which point the springs released fully (severely gouging the table I was working at, as the teeth of the cogs dug in – I guess just because it’s siezed doesn’t mean that there’s not pent up energy inside! Could have been rather tragic if my fingers had been in the way).
Now, I find myself with the task of reattaching the spring to the anchor on the arbor.
I did fully disassemble the housings last night, but couldn’t get the spring to hold.
I’m guessing that the hole became disfigured when the spring flew off, so I’ll have to use pliers to get it back on.
This motor drawing is sideways. Comparing it to mine, the right side should be on the top.
Seeing as I’m going to have to reopen the housings, I figure that I might as well give it a thorough cleaning.
The mechanism can be cleaned with Paint Thinner, I read, and then either grease / wheel bearing lube can be used to recoat everything, or a homemade vaseline:graphite (2:1) slop can be made.
I think I’ll go with the first option.
To describe how it works:
When you turn the crank, it turns a cog that rotates the top spring housing.
There is a ‘pin’ (arbor) that runs between the top and bottom spring housings which is connected to the spring through an anchor of sorts.
In order for the top spring to tighten as the crank is being turned, the arbor must remain stationary.
If the arbor moves with the top spring housing, the spring will never tighten.
The only way for the arbor to remain stationery is if the bottom spring is turning in the opposing direction with an equal force.
When sufficient potential energy has built up, the energy will transfer to the driving gear, turning the turntable spindle.
Well, that’s how I imagined it working anyway based on my ‘appraisal’.
The Disassembly
I took photographs along the way, to ensure that I’d put it back together correctly!
Lots of WD40, lots of paper towels, lots of elbow grease.
But in the end, the clean coils were generously coated with synthetic grease, and will hopefully last for another 110 yrs.
I was turning the coils directly into the housing, which took a LOT of strength and downwards pressure to stop everything from flying out.
Unfortunately, I noticed that bits of newspaper (my worksurface) were making their way into the base of the housing – not good – and all it took was that one moment of lapsed concentration, and the coil flew, slicing my left thumb and right thumb knuckle.
Frank heard the ‘snap’ as the coil released, and rushed in for fear that I might have sliced my juggular!!!
He wound the coils for me (wearing gloves).
A video showing the directional rotations of the spring housings while charging.
As the machine was cranked, once fully reassembled, it was easy to feel that the potential energy was building within the springs, however as it reached its peak point, you could hear a dull thud as the the spring released from the arbor anchor.
One of them obviously wasn’t on quite all the way.
I disassembled the motor one again, after observing the spring housings while turning the crank.
The bottom housing was completely stationary, and as the top housing would turn, the arbor would turn too.
If the bottom housing were catching the housing, it’d have been totally stationary, but both housings would move.
I opened the bottom housing and tried three times to tighten the center-most coil so that it’d hold.
Finally, we had a winner.
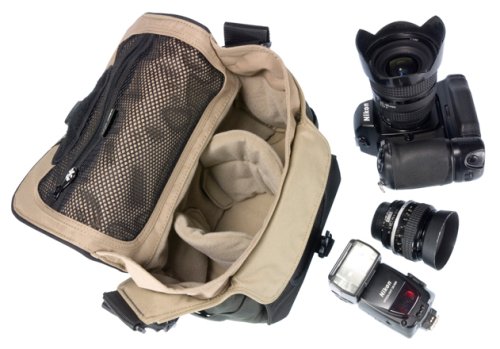
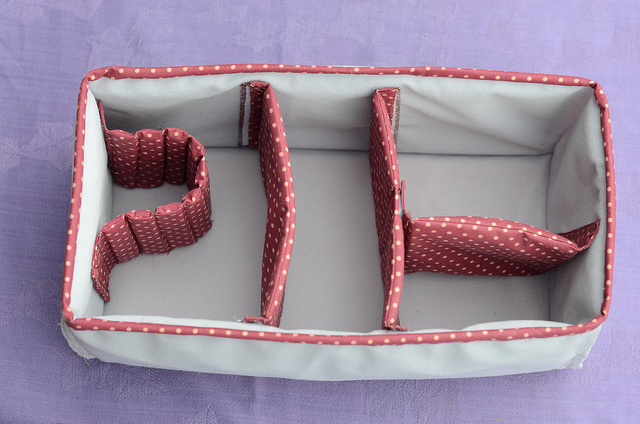
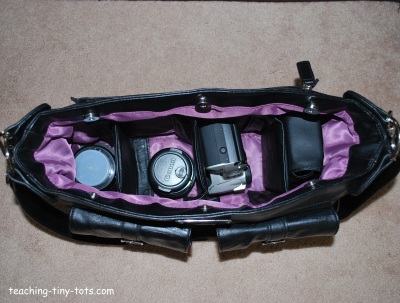
Well, summer is fast approaching, and the little lady in my life is becoming better and better at occupying herself. Cue time to do some much-needed decoration around the house.
Here are some photos that I’ve found via Google Images. I did not take the photos, nor do I make any claim to them.


")
")
")
")
")
")
")